Asking permissions for Push Notifications or Location Services can be a hassle. We’ve all seen apps and websites where permission dialogs are fired at you when you enter the site or open the app for the first time. However, did you know that these permissions can be triggered at any moment? Also, that finding the right moment will increase opt-in conversion and improve the user experience?
Web Push, App Push and Location Services are great features that allow you to send highly engaging messages. Location-based messages on their own even let you send the most relevant and contextual marketing messages that are out there. Nevertheless, to do all of this, you first need the permission of the user.
Web Apps vs Native Apps
There are some differences here between all these platforms. Although all versions of Android and the latest iOS 12 (using Provisional Authorization, although you lose the ability to reach the lock-screen) allow native apps to start sending remote notifications without the user permission, it is always a good idea to obtain their consent first. Users are more likely to disable notifications for your app (remember users are in control) if they are caught by surprise. If you give users a valid reason to send notifications they are more likely to allow you that privilege.
As for Location Services, because of its nature (highly personal data) all platforms will require users’ consent before they allow your web or mobile app to store that information. Providing a good reason why you need it and how you are going to use it, is imperative if you want your users to grant you that responsibility.
Pretty much the same way, for web notifications, users’ consent is mandatory. In this case, without users accepting a browser permission dialog, it is impossible for your website to send any remote notifications. Web Push (and Safari Website Push) works on all major desktop browsers as well as in most browsers for Android devices. Unfortunately, Safari for iOS is not yet participating.
You might decide to take the easy road and right away prompt your users with those permission dialogs without any upfront information. In case your users do not allow you to send notifications, you can still send a message to the users’ inbox, but that isn’t as powerful as being able to send those messages even when your users are not using your app, right?
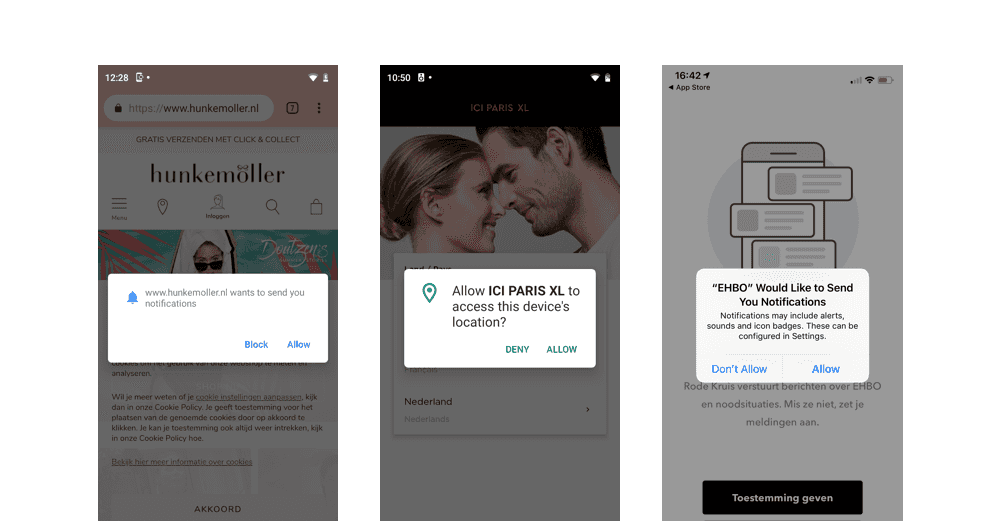
Knowing that permission is needed and asking for it can be done at any time, what is the best moment to do so?
Relevance, relevance, relevance
Generally speaking, the best moment to ask for permission is when it seems relevant to the user. Therefore, it depends on the customer journey and when you want to touch base. Do you want to engage with the user as soon as possible? In that case, you can ask for the approval during the on-boarding process. However, if you only want to engage with registered customers, you might want to postpone that permission request until the account creation process is finished.
Pre-permission, the ’soft ask’
So what if you've designed the best journey and ask for the permission at the most relevant moment but still the user decides to not give permission? Then you can never ask for it again. That’s why you need an extra step: the pre-permission.
A Pre-Permission or 'soft ask' is a piece of customized content with a clear explanation why you would like to send notifications or track the user's location. Basically, only if the users accept this pre-permission, you will prompt the actual browser or app permission dialog. And if they don’t (because the user is not in it for now), your app simply postpones the default prompt for another time. Like this, you will always be able to trigger this flow again, when the user is ready for it. It also gives you the opportunity to display more content, enough to trigger the user's interest. Remember, a web or native app permission dialog is not fully customizable, it might not be enough to display all the information needed to convince your users and it can only be triggered once. With the pre-permission, you can wait for the right moment and avoid the hard 'NO'. By doing so, you will get a higher opt-in rate than just randomly throwing them at your users.
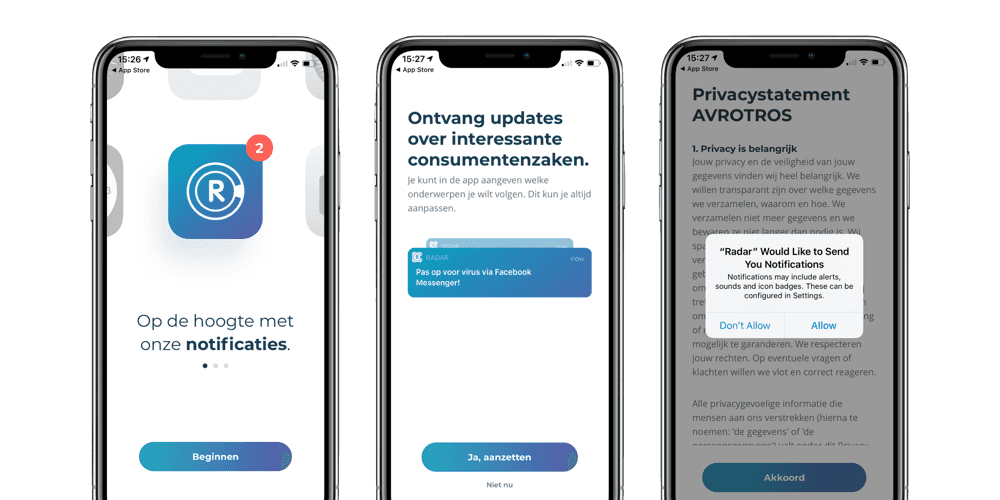
6 Steps to get a higher opt-in rate
Here's our 6-step guide to improve opt-in conversion and user experience in your web or mobile apps.
1. Use the Pre-Permission
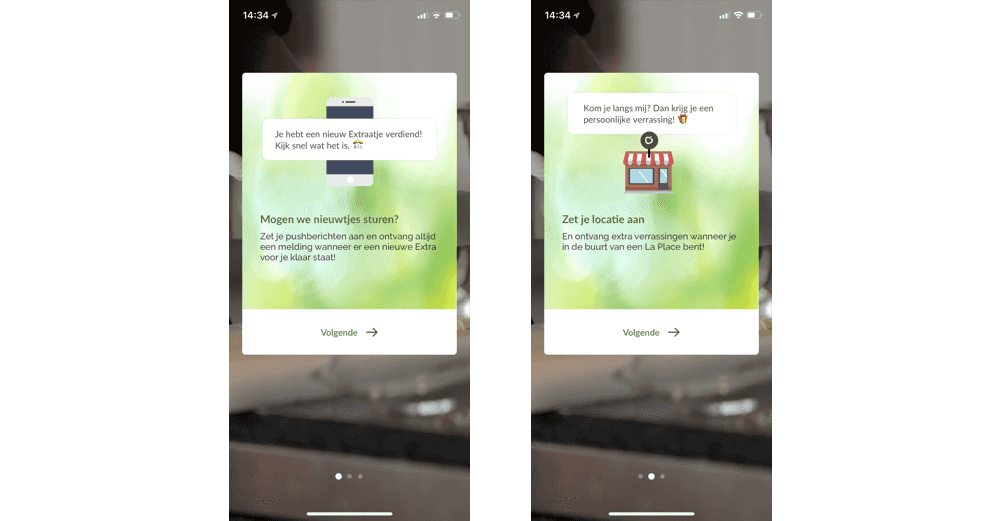
The first step to get higher opt-in rates is, of course, to prepare your website or app for the pre-permission itself. By setting this up the right way, you will decrease the number of users that disallow or block the permission dialog which will prevent you from asking it again.
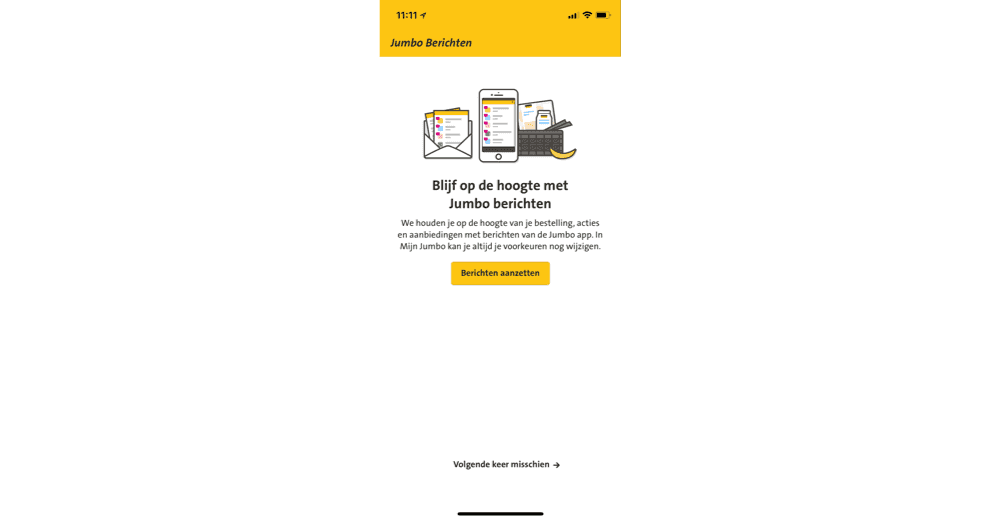
2. Show the Benefits
When using the pre-permission, you are free to design the UI whichever way you want. The default permission dialog is really minimal and cannot be changed. The most important thing about the pre-permission is that you have enough time and space to design a clear explanation of what the user can expect when they agree. Clearly show what the benefits are, both in text and a matching look and feel. This is the time to win the trust of the user, clearly explain what they are in for and how carefully you will handle it.
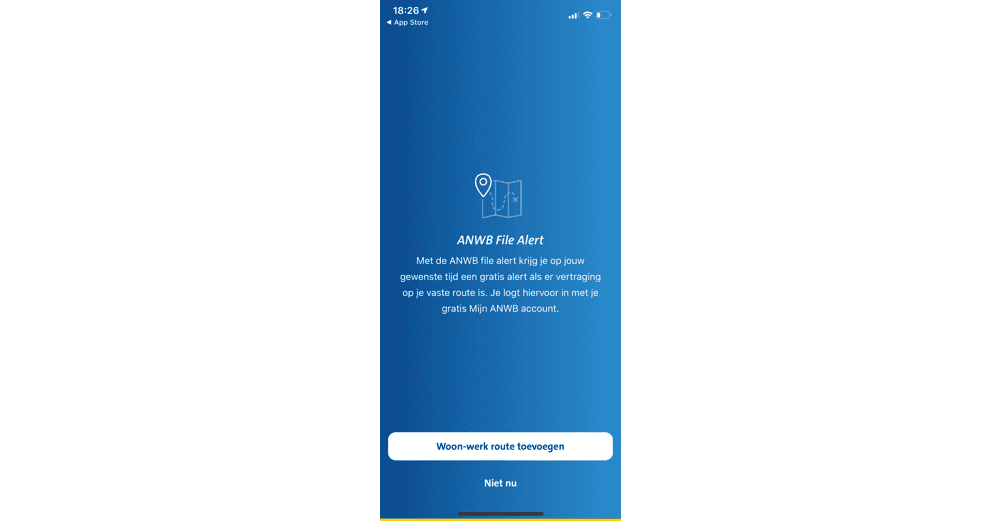
3. Crystal Clear CTA
The great thing about a pre-permission screen is that you can design the call-to-action yourself. Offer both a choice for the opt-in or for a "remind me later". Allowing the user to skip this process and decide later is also a great strategy. Moreover, it is also immediately clear that you may ask for it again later.
4. Something to Suit All Tastes
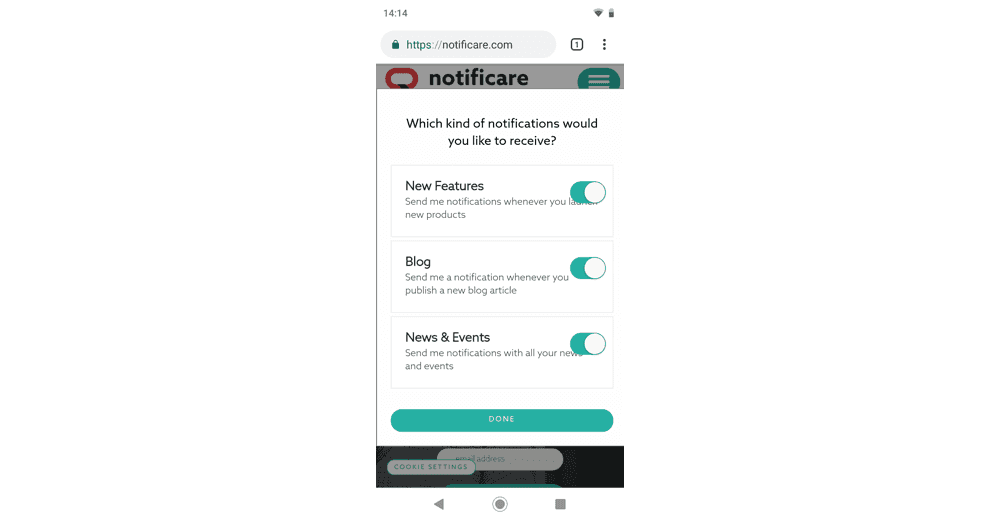
Also offer the user the possibility to choose the type of communication they would like to receive. Perhaps the user just wants to receive transactional information and skip promotional messages, but still wants personalized special offers. Offer your customer more options and they will not unsubscribe from all your communications.
5. Measure & Conquer
Tracking every step of the pre-permission is essential. How many people skipped the first pre-permission screen and how many opted-in right away? Using our Analytics and Automation add-ons, analyzing this behavior will not only give you the right insights but it will also give you the opportunity to make every metric actionable. Registering events and hooking them up to an automation connector can boost opt-in rates from users that did not accept it the first time. Use in-app messages (stored in the website or app's inbox) to remind users of the benefits of your remote notifications or location services features.
6.Iterate and Optimize
With Notificare's Storage add-on, you can customize the pre-permission screens with content hosted outside your website or app. It can help you manage how and what these screens should display. It also enables you to iterate on your ideas and change it as you go without having to submit releases to the app stores or continuously deploying updates to your website.
Have you set it up the right way?
As you can see asking for notifications or location services permission isn’t as simple as firing the default prompt but with Notificare, you can find a wide range of solutions to make it more effective for you and less annoying for your customers.
As always if you have any questions, we are available via our Support Channel to guide you further and open the door to a brand new world of possibilities.


