Leveraging functionality like web push notifications, geo-targeting, actionable analytics or personalization in your website has become as important as an appealing design or a well-thought-out user experience.
Nevertheless, it can turn out to be hard to tackle for smaller teams or brands running on tight schedules. What in most cases might seem to be a simple step can quickly turn into a complex task that will drag your team into a spiral of user stories.
Google Tag Manager, a free marketing tool from Google, quickly became popular by allowing websites to implement Analytics, Ads and other Google products without editing any code in your website. The ability to inject markup in any of your pages can also be a way of reducing the time to implement Notificare and all of its features.
Notificare + Google Tag Manager
If you are not familiar with GTM, you will need to start by creating an account here. Once you successfully sign in to the Tag Manager, you can create an account, which will be the place where all your tags will be added for your website. This is done in the initial page by clicking in the Create Account button:

You will then need to provide some information about your company and about your new container:
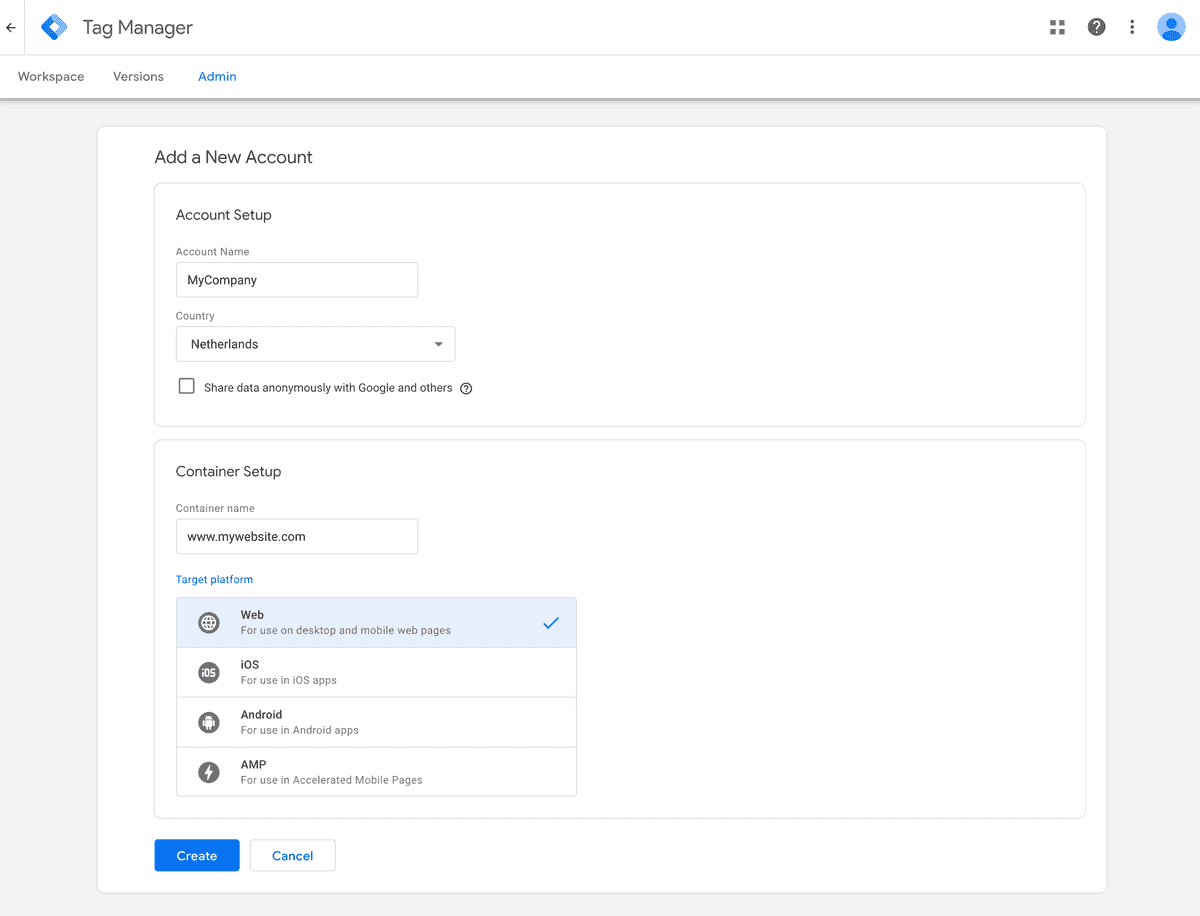
Once you have provided all the necessary data and completed this step, you will be prompted with the following snippets:
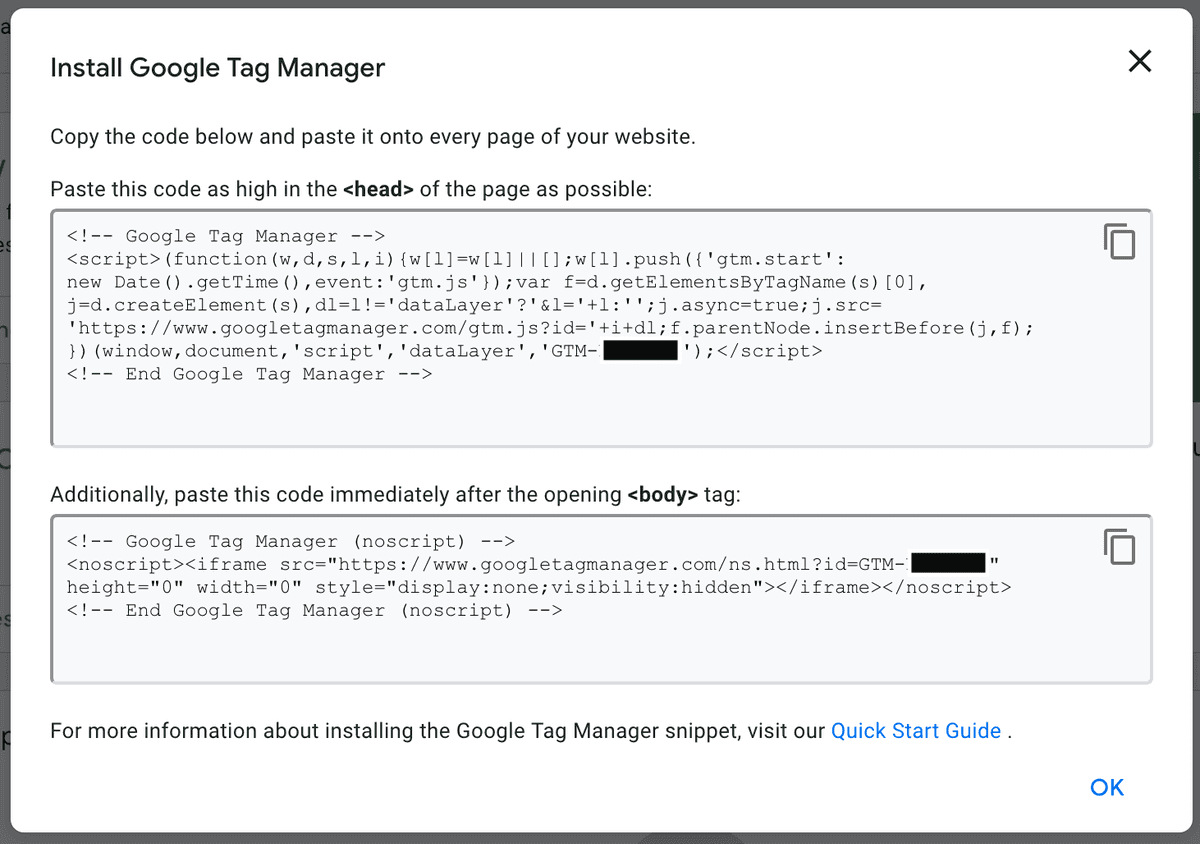
These should be pasted accordingly into your website. You can also read more about these, in this page. If you followed the instructions correctly, your website is now ready to use Google Tag Manager.
At this point, you can easily start implementing Notificare by adding your first tag. In Tag Manager, go to Workspace and click in Add new tag:
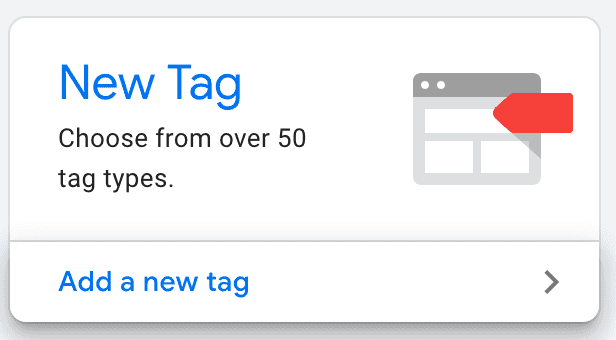
Start by naming your new tag:
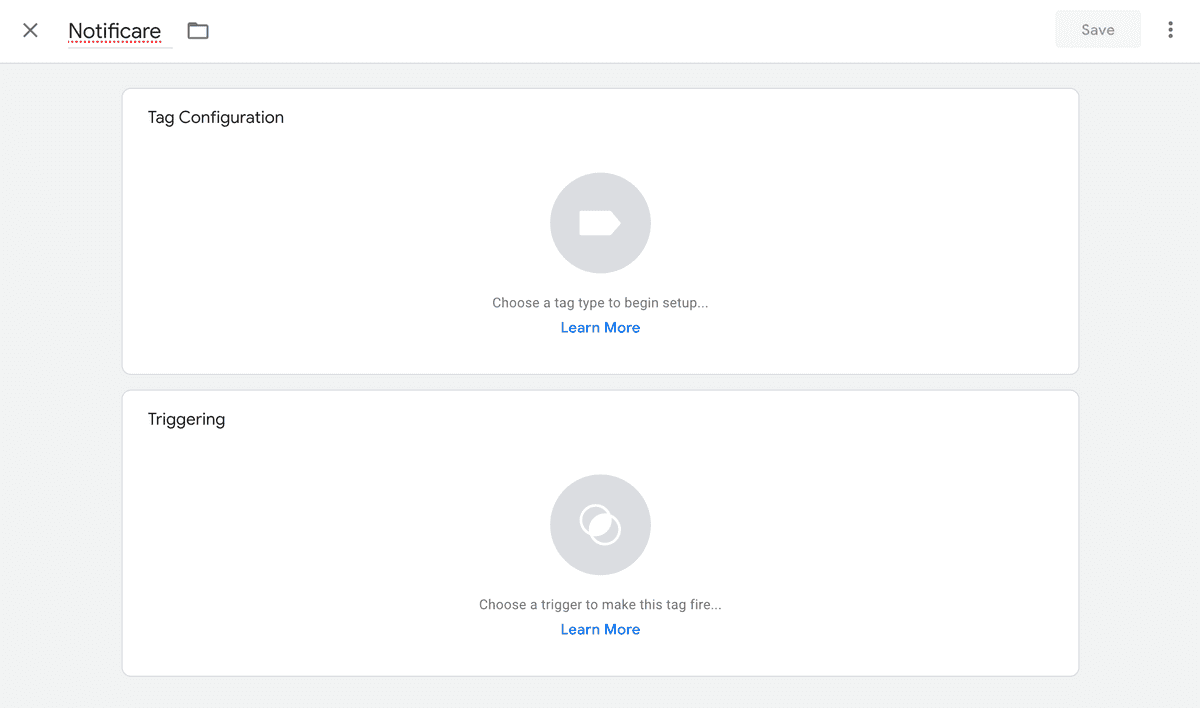
Then click in the Tag section:

This will reveal all the options you have at your disposal. You will need to select the Custom HTML one:
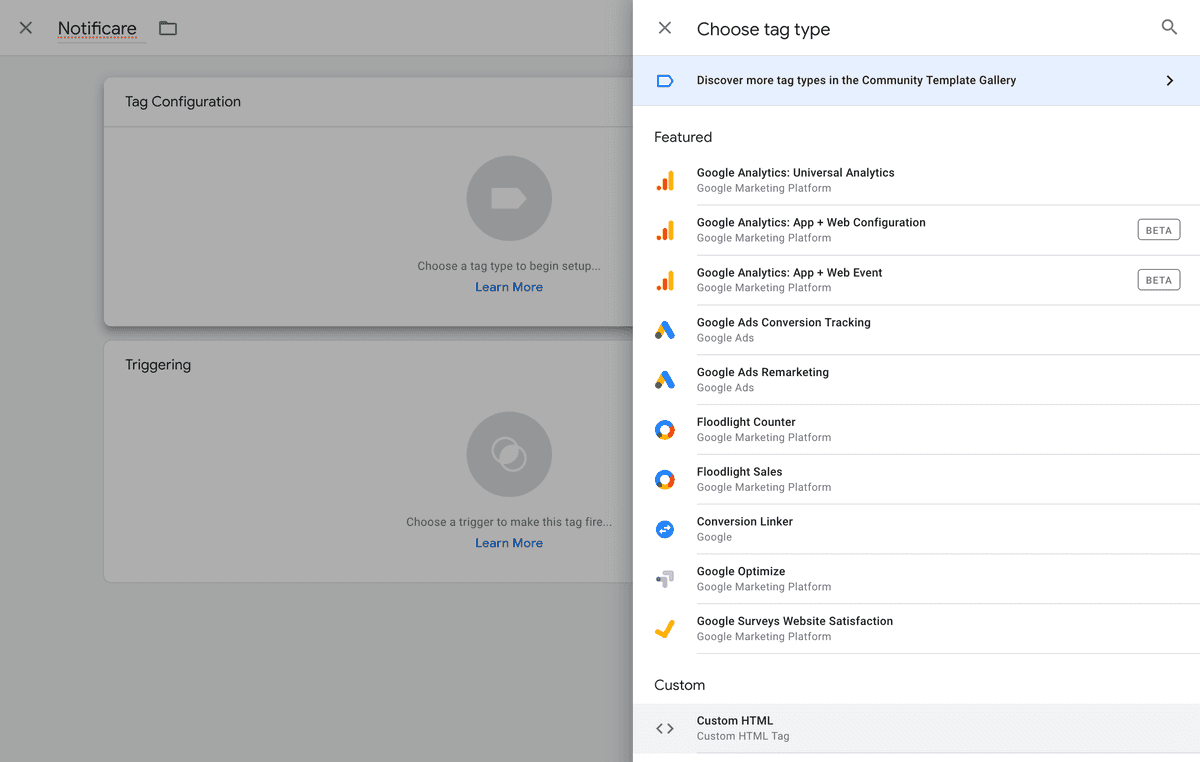
You are now ready to start adding Notificare code to you new tag:
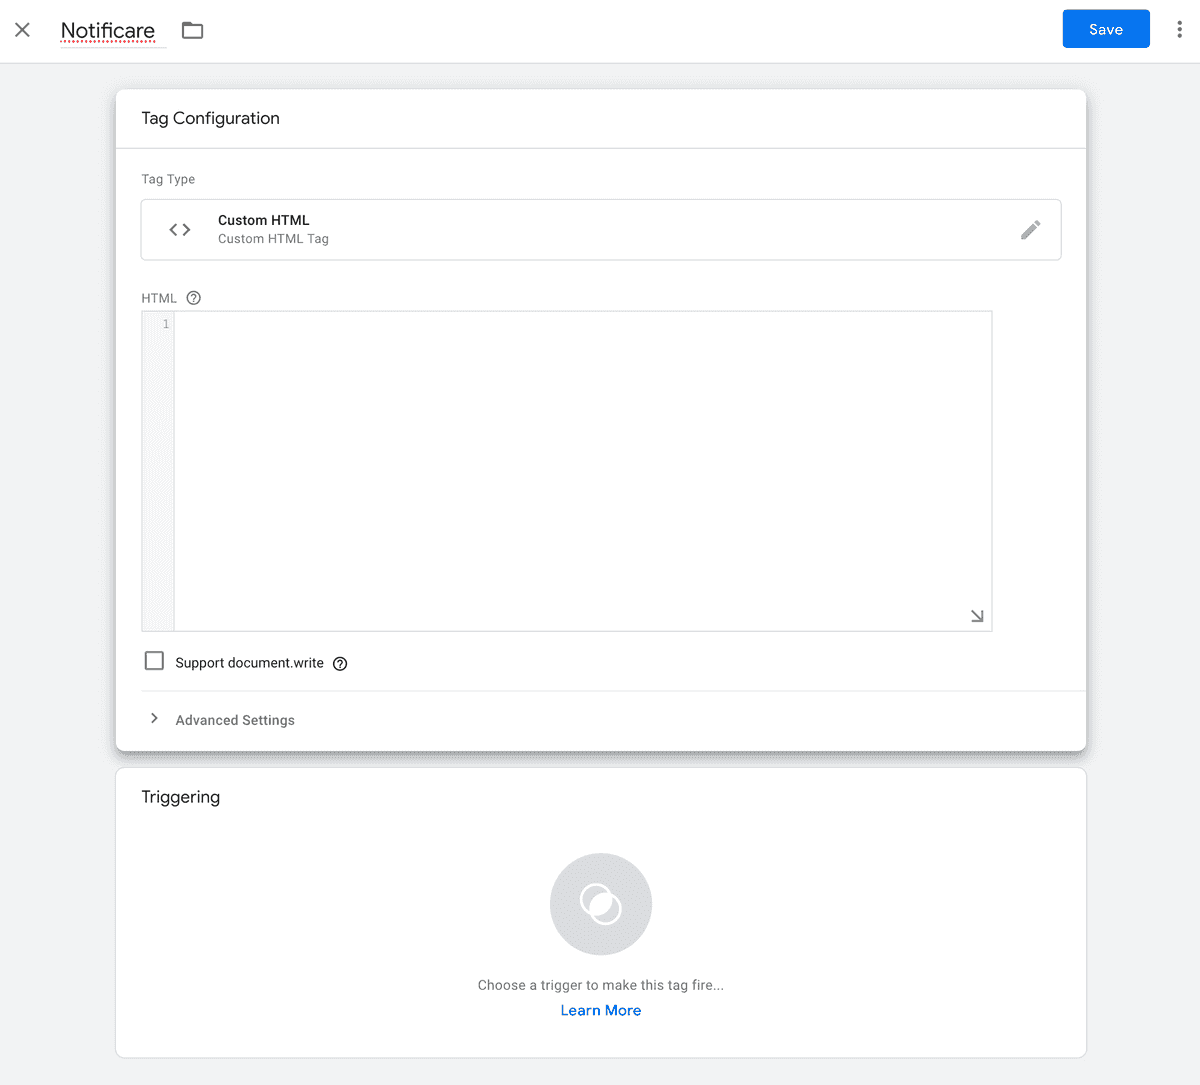
Assuming, you already have a Notificare account, you've created an app and have the keys needed to use our JS library, you are now ready to add the minimal implementation code for Notificare to work.
<script>
  (function() {
    var element = document.createElement('script');
    element.src = 'https://cdn.notifica.re/libs/html5/v2/latest/notificare.min.js';
    element.async = 'true';
    element.addEventListener('load', function() {

      var notificare = new Notificare({
        "appHost": "https://yourwebsitehere.com",
        "appVersion": "1.0",
        "appKey": "YOU_APP_KEY_HERE",
        "appSecret": "YOU_APP_SECRET_HERE"
      });

    });

    document.head.appendChild(element);

})();
</script>
And paste it in the HTML field of your tag. Don't forget to adjust the fields accordingly. Then go ahead and expand Advanced Settings and make sure you select the Once per page option in the Tag firing options field:
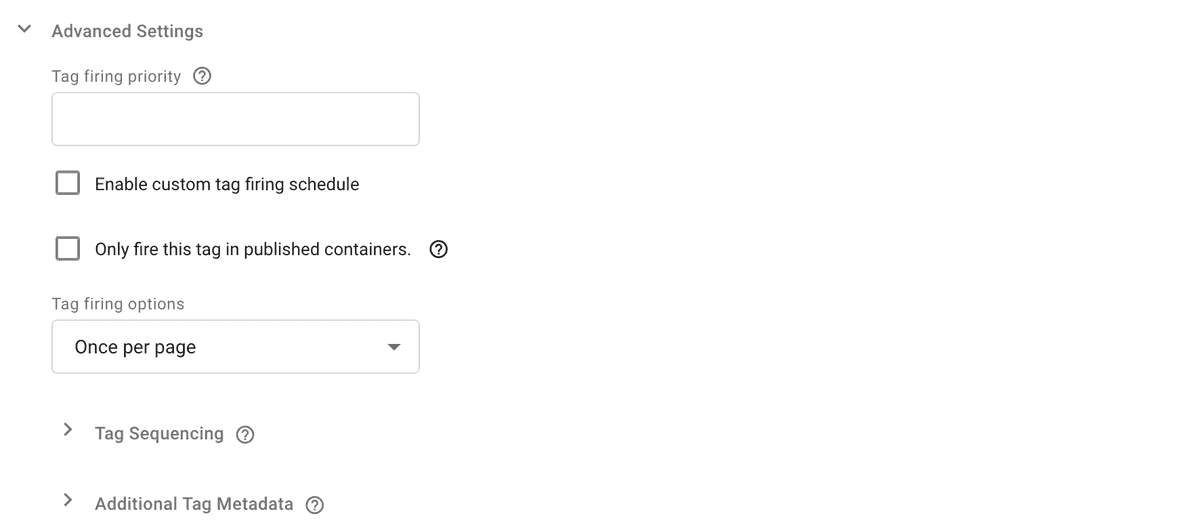
If you have a multi-page website, you will want to define this tag to trigger in all pages, this is done by clicking in the Triggering section:

This will reveal the All Pages option, which you should select:

You will then end up with a Tag that looks similar to this, you can now click the Save button:
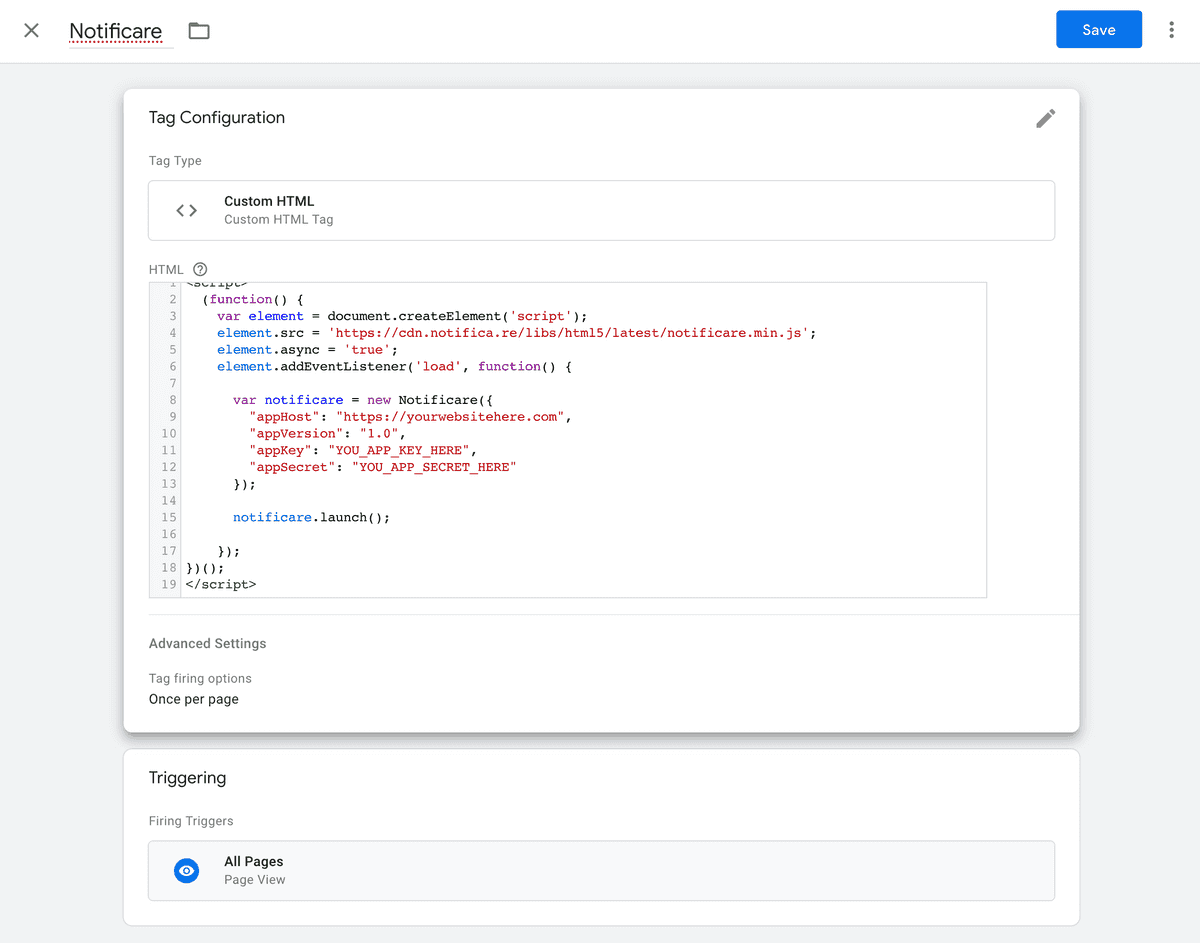
Finally, you are now one click away of publishing your tag. Go ahead and hit the Submit button:
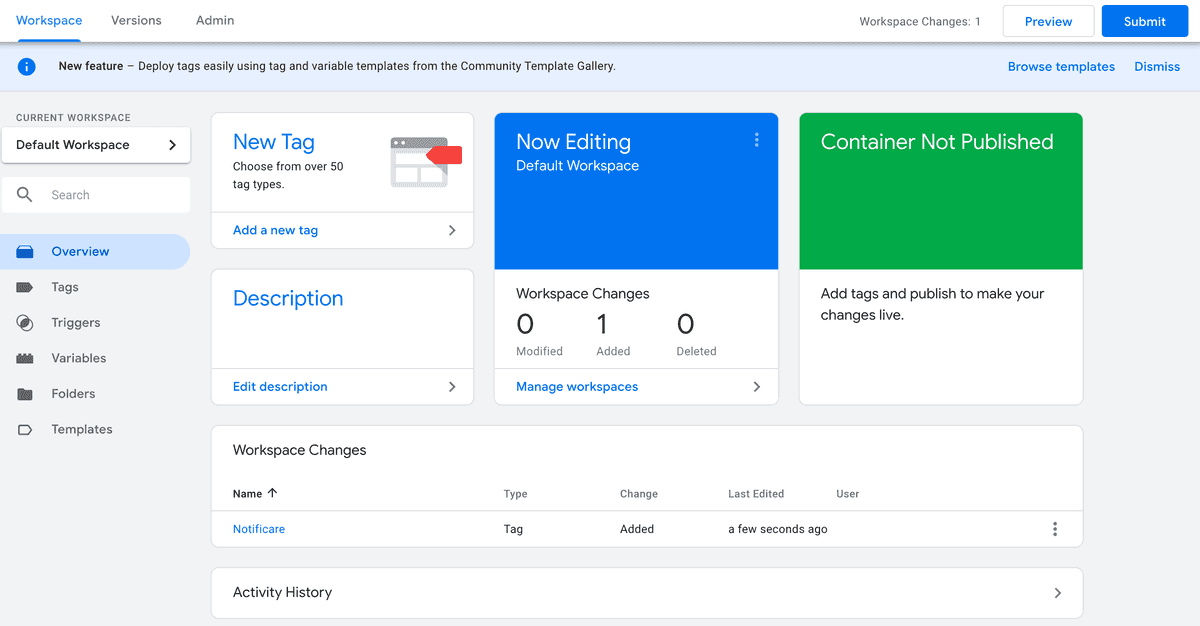
Congratulations! You have now implemented Notificare with Google Tag Manager. As you can see, GTM tags can free a developer team from most of the work. You can also iterate, pause or delete a tag at any time, giving you the flexibility your business needs.
Adding Web Push
For Web Push notifications, you will need to setup your Notificare app accordingly, as described in this page. In order to reach Chrome, Opera, Firefox and Edge (desktop & mobile) and Safari (desktop only) visitors, you will need to at least generate a pair of VAPID credentials and upload a Safari Website Push certificate, as described in that page. These browsers account for more than 85% of all of your desktop website visitors and roughly 70% of your mobile visitors.
You will also need to place a small file in your server (ideally in the root of your website). This file, called the Service Worker, is a script that will run in the background, separate from your website. Among other things, it is responsible for receiving remote notifications and launching your website (if needed) when users interact with those messages. Go ahead and grab this file from here and upload/deploy it to your server.
Once you've done this, it's time to iterate on your new tag. Get back to Google Tag Manager and click in the Workspace tab, then click in Tags and select the tag you just created. You can start adding more functionality to your Custom HTML tag, so go ahead and edit your tag as follows:
<script>
  (function() {
    var element = document.createElement('script');
    element.src = 'https://cdn.notifica.re/libs/html5/v2/latest/notificare.min.js';
    element.async = 'true';
    element.addEventListener('load', function() {

      var notificare = new Notificare({
        "appHost": "https://yourwebsitehere.com",
        "appVersion": "1.0",
        "appKey": "YOU_APP_KEY_HERE",
        "appSecret": "YOU_APP_SECRET_HERE",
        "ignoreNonWebPushDevices": true, // set this to true if you only want to register subscribers of push notifications
        "allowOnlyWebPushSupportedDevices": true, // set this to true if you only want to support browsers that support web push
        "serviceWorker": "sw.js" // path to the service worker in your server
      });

      notificare.launchWithAutoOnBoarding({
        text: "Would you like to receive push notifications from our website?",
        cancelText: "No",
        acceptText: "Yes",
        retryAfterInterval: 24
      });

      notificare.didOpenNotification = function(notification){
        notificare.presentNotification(notification);
      };

    });

    document.head.appendChild(element);

})();
</script>
After saving these changes, and assuming everything is configured correctly, your website should now be on-boarding visitors (in supported browsers), something similar to this:
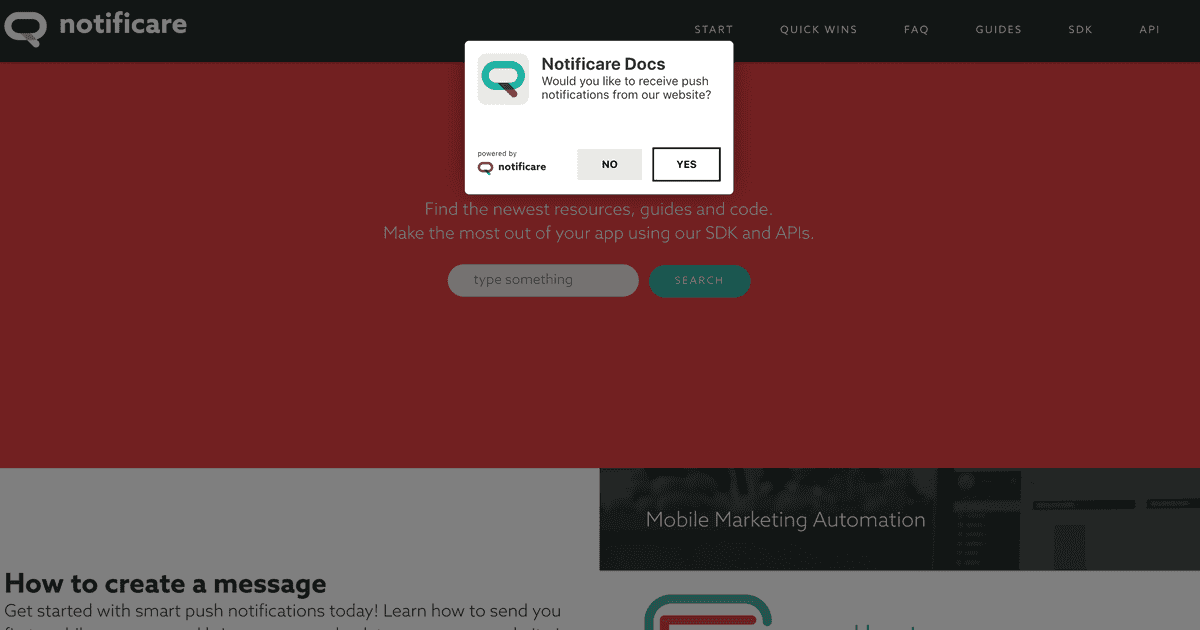
It is also ready to handle any type of content our web push messages support. On top of that, this is the best way to make sure your web push implementation is future proof and can handle any eventual changes that browsers might introduce in new releases.
Categorizing Visitors
One of the most common use cases, after you've successful started registering push subscribers, is to categorize them based on their browser's capabilities, profile characteristics or preferences. This can be easily achieved by implementing Notificare Tags. Go ahead and edit your existing GTM Tag as follows:
<script>
  (function() {
    var element = document.createElement('script');
    element.src = 'https://cdn.notifica.re/libs/html5/v2/latest/notificare.min.js';
    element.async = 'true';
    element.addEventListener('load', function() {

      var notificare = new Notificare({
        "appHost": "https://yourwebsitehere.com",
        "appVersion": "1.0",
        "appKey": "YOU_APP_KEY_HERE",
        "appSecret": "YOU_APP_SECRET_HERE",
        "ignoreNonWebPushDevices": true, // set this to true if you only want to register subscribers of push notifications
        "allowOnlyWebPushSupportedDevices": true, // set this to true if you only want to support browsers that support web push
        "serviceWorker": "sw.js" // path to the service worker in your server
      });

      notificare.launchWithAutoOnBoarding({
        text: "Would you like to receive push notifications from our website?",
        cancelText: "No",
        acceptText: "Yes",
        retryAfterInterval: 24
      });

      notificare.didOpenNotification = function(notification){
        notificare.presentNotification(notification);
      };

      notificare.didRegisterDevice = function(notification){
        notificare.addTags(["a_tag", "another_tag"]);

        var button = document.getElementById("myTopicButton");
        button.addEventListener("click", function(){
            notificare.addTag("yet_another_tag");
        });

      };

    });

    document.head.appendChild(element);

})();
</script>
In this example, we demonstrate how you would register tags when the script is loaded as well as when a certain element is clicked.
Actionable Analytics
Notificare is also a great solution to turn events that happen in your website into actionable analytics. By default, you are able to collect any interaction you find useful in your website as a metric. If you then also subscribed to the Notificare Automation add-on, you can turn those metrics into actionable events.
In practice, this translates to creating Notificare Custom Events. These can be triggered when your tag loads or users click markup elements. To accomplish this, you would need to add the following to your tag:
<script>
  (function() {
    var element = document.createElement('script');
    element.src = 'https://cdn.notifica.re/libs/html5/v2/latest/notificare.min.js';
    element.async = 'true';
    element.addEventListener('load', function() {

      var notificare = new Notificare({
        "appHost": "https://yourwebsitehere.com",
        "appVersion": "1.0",
        "appKey": "YOU_APP_KEY_HERE",
        "appSecret": "YOU_APP_SECRET_HERE",
        "ignoreNonWebPushDevices": true, // set this to true if you only want to register subscribers of push notifications
        "allowOnlyWebPushSupportedDevices": true, // set this to true if you only want to support browsers that support web push
        "serviceWorker": "sw.js" // path to the service worker in your server
      });

      notificare.launchWithAutoOnBoarding({
        text: "Would you like to receive push notifications from our website?",
        cancelText: "No",
        acceptText: "Yes",
        retryAfterInterval: 24
      });

      notificare.didOpenNotification = function(notification){
        notificare.presentNotification(notification);
      };

      notificare.didRegisterDevice = function(notification){
        notificare.addTags(["a_tag", "another_tag"]);

        var button = document.getElementById("myTopicButton");
        button.addEventListener("click", function(){
            notificare.addTag("yet_another_tag");
        });

      };

      notificare.onReady = function(notification){
        var button = document.getElementById("addToCartButton");
        button.addEventListener("click", function(){
            notificare.logCustomEvent("AddToCart", {
                "product_sku": "123456",
                "product_name": "Nice Boots",
                "product_currency": "EUR",
                "product_price": "80.00"
            });
        });
      };

    });

    document.head.appendChild(element);

})();
</script>
This is how you could quickly design a messaging strategy for things like an Abandoned Cart message, Order Confirmation, Product Scarcity or Customer Rewards.
Taking it Further
These are just some of the things available for you when using our platform for websites. You can basically use GTM to implement all the features of our platform without editing any code in your website or allocate development resources. Things like an in-app message inbox, geo-targeting or personalized content are also available when implementing Notificare using Google Tag Manager.
Interested?
If you would like to know more or if you have any questions, we are available, as always, via our Support Channel or schedule a demo with our Sales Team.


