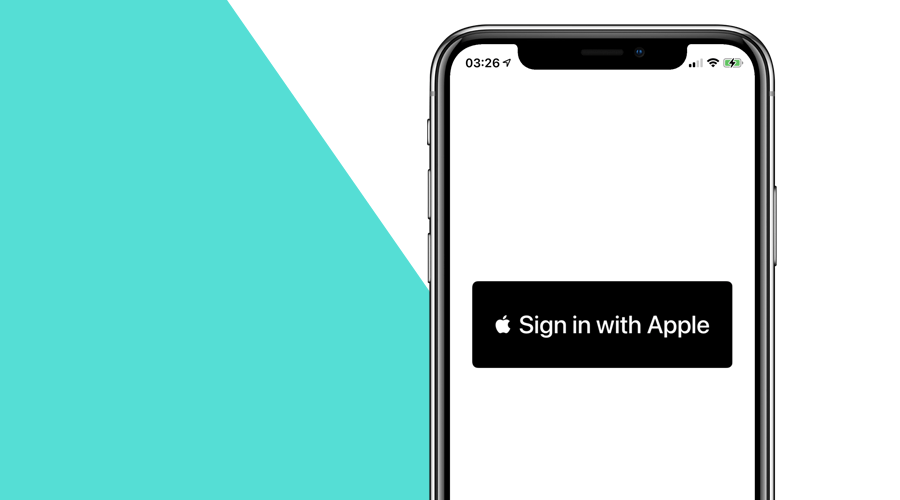
In iOS 13, Apple introduced an authentication feature to help users easily sign up into apps or websites in a private and secure manner. Besides providing a really convenient way for users to sign up with 3rd party apps using their Apple ID, Apple also allows users to choose how their share personal data with you.
For iOS users, this is simply the most frictionless way to start using your app. In fact, Apple will even require your app to implement this mechanism if you are already using other 3rd party or social login services, such as Facebook, Google or Twitter.
Implementation
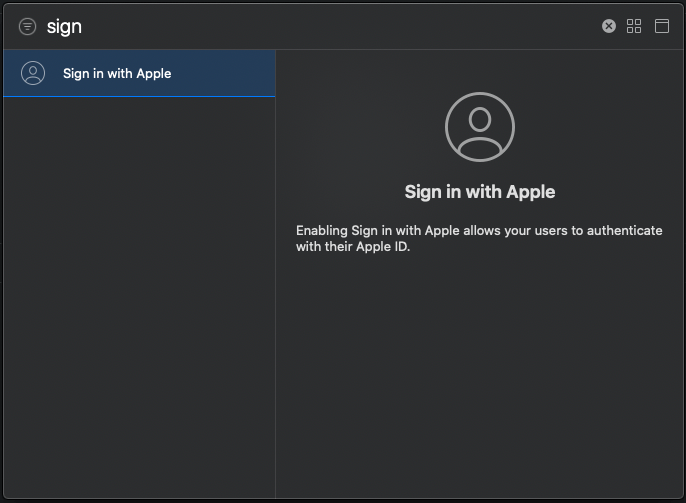
The very first thing you need to do, to start using this feature, is to add the capability Sign In With Apple. This is done by clicking in your app's target, select the Signing & Capabilities tab and clicking the + Capabilities button. Then double-click the Sign In With Apple option to add it to your project:
Once this step is done, you should now import the following framework in the view controller where you want to add this functionality:
import AuthenticationServicesThe most common approach is to add this to a view controller. In the example below, we will also add the ASAuthorizationControllerDelegate to our controller in order to implement all the callback delegates needed to complete this implementation:
class ViewController: UIViewController, ASAuthorizationControllerDelegate {
 ...
}
This framework will provide you with a button that you can add anywhere in your view. Because Apple is very serious about their branding, this is the only acceptable way to implement this feature. There is also not that much room for customizations, you can however change the frame of the button (font size will adapt automatically to the size of the button), use the light or dark version and customise its corner radius.
In the example below, we will simply add the button in the center of our view, when it is loaded:
override func viewDidLoad() {
  super.viewDidLoad()

  let button = ASAuthorizationAppleIDButton()
  button.addTarget(self, action: #selector(handleAppleIDButtonPress), for: .touchUpInside)
  button.center = self.view.center
  self.view.addSubview(button)

}
If you would now run your project, you would see something like this:

Now let's handle the action of your button. When a user presses this button, you should initialise the authentication controller by setting up an Apple ID provider. This provider must contain a list of data scopes you would like to receive. In the example below, we will handle any press to the button by requesting the full name and email of an user:
@objc
func handleAppleIDButtonPress(){
  let request = ASAuthorizationAppleIDProvider().createRequest()
  request.requestedScopes = [.fullName, .email]

  let controller = ASAuthorizationController(authorizationRequests: [request])
  controller.delegate = self
  controller.presentationContextProvider = self
  controller.performRequests()
}
Because the presentationContextProvider expects a window, where it should present the authorization controller, we must extend our view controller as follows:
extension ViewController: ASAuthorizationControllerPresentationContextProviding {
    func presentationAnchor(for controller: ASAuthorizationController) -> ASPresentationAnchor {
        return self.view.window!
    }
}
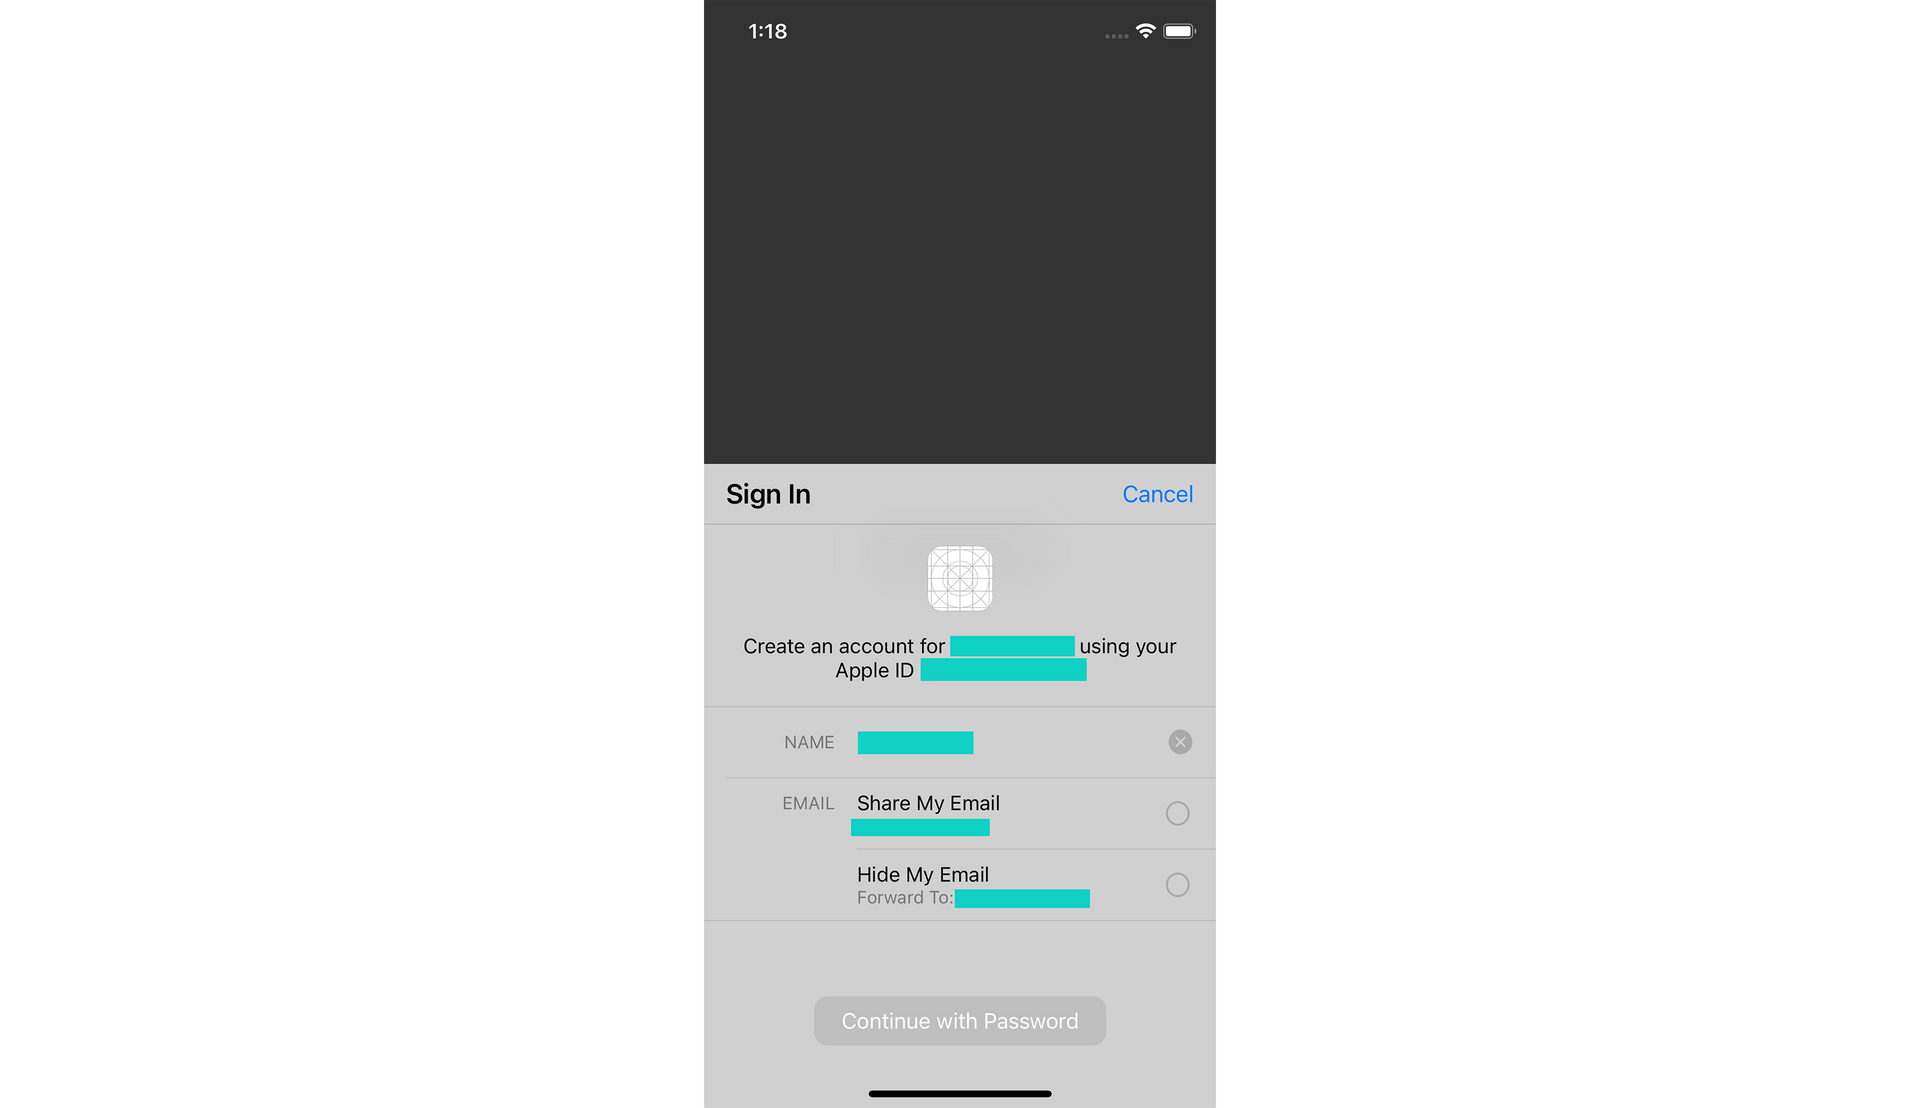
If you would now run your project and click the button, you would see the following:
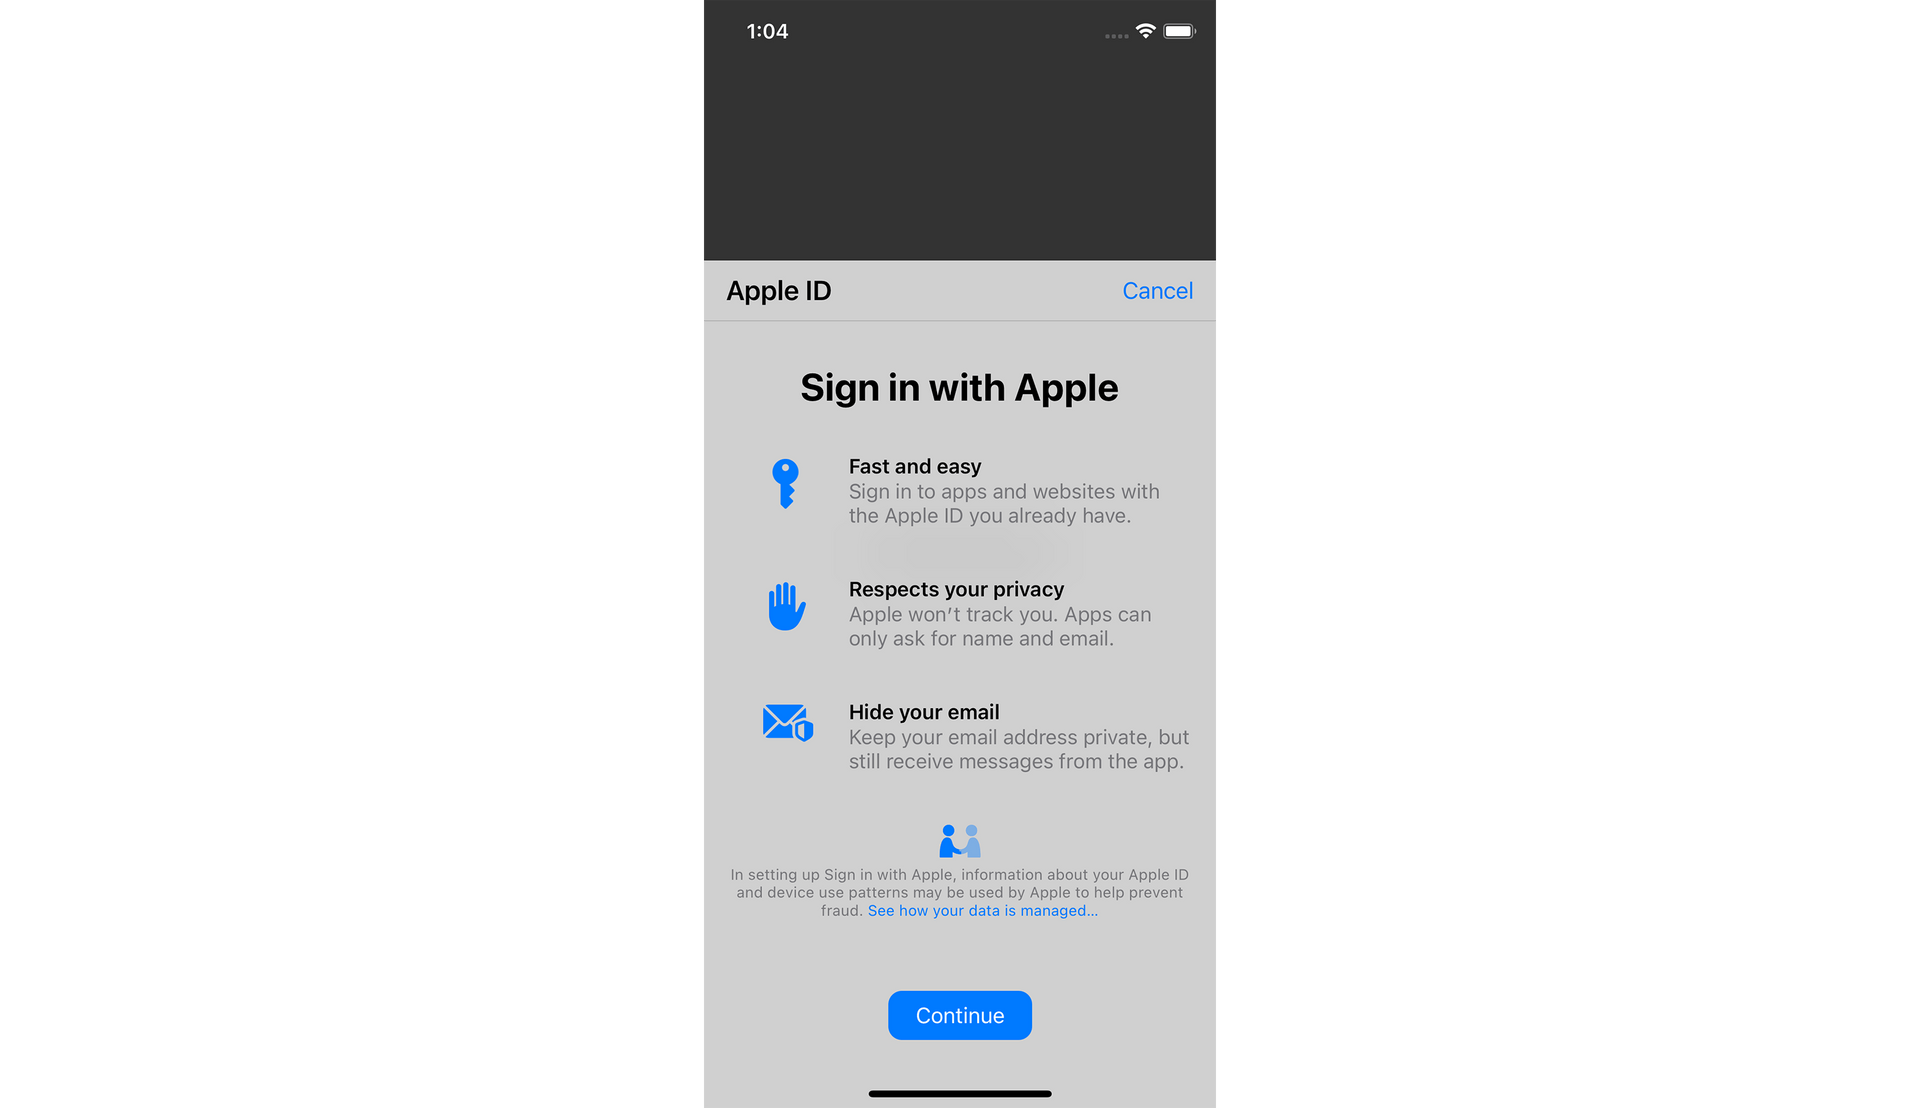
If this was the very first time a user was clicking a button of this kind, the following controller would be displayed instead:
If instead, the user's device would not have an Apple ID configured yet, the following alert would be displayed:
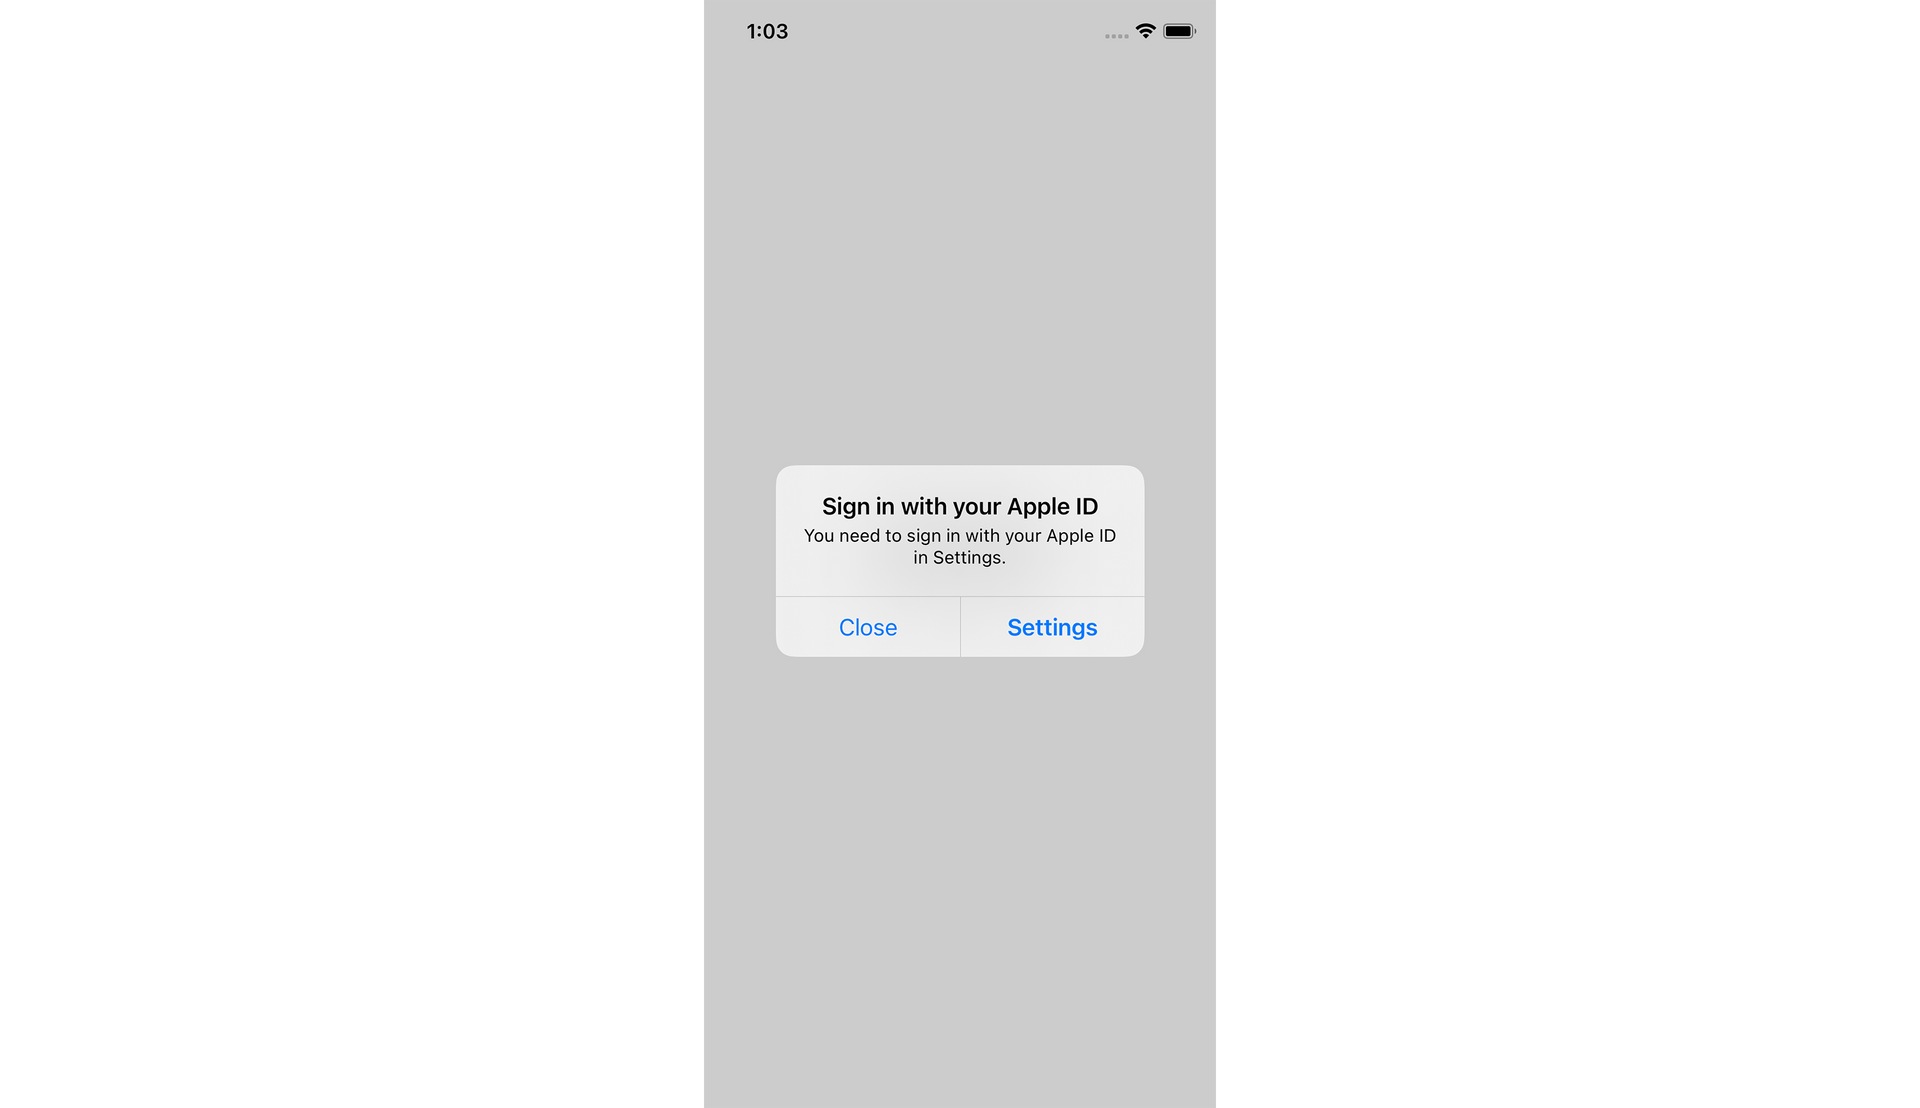
Both these flows will onboard the user to setup everything needed to start with Sign In With Apple.
Assuming that everything is correctly configured in the user's device, you should now add the callback delegates that handle a successful login or any errors this flow might throw at you. For that, you will need to implement the following:
func authorizationController(controller: ASAuthorizationController, didCompleteWithAuthorization authorization: ASAuthorization) {
  if let credentials = authorization.credential as? ASAuthorizationAppleIDCredential {

    let user = credentials.user
    let name = credentials.fullName?.givenName ?? ""
    let email = credentials.email ?? ""

    saveCredentialsAndMoveOn(user: user, name: name, email: email)
  }
}
If a user completed the authorization flow successfully, you have now the opportunity to save its credentials and move on to whatever view you want to present for authenticated users. It's very important that you save this data at this point. Apple will no longer provide it in subsequent logins. The best approach for this is to make sure you persist this data into the keychain and use it to determine if a user already completed this step before.
You can then skip showing the button in subsequent logins and instead request the provider as shown below:
func handleExistingUser(){
  let request = [ASAuthorizationAppleIDProvider().createRequest(), ASAuthorizationPasswordProvider().createRequest()]
  let controller = ASAuthorizationController(authorizationRequests: request)
  controller.delegate = self
  controller.presentationContextProvider = self
  controller.performRequests()
}
Additionally, you should also take into account any errors this flow might throw:
func authorizationController(controller: ASAuthorizationController, didCompleteWithError error: Error) {
  let alert = UIAlertController(title: "Error", message: error.localizedDescription, preferredStyle: .alert)
  alert.addAction(UIAlertAction(title: "Close", style: .default, handler: nil))
  self.present(alert, animated: true, completion: nil)
}
Finally, because users can also revoke these credentials at anytime, you also need to handle this accordingly. For that you can use the following example:
let provider = ASAuthorizationAppleIDProvider()
provider.getCredentialState(forUserID: "YOUR_SAVED_USER") { (state, error) in
  switch (state) {
    case .authorized
      self.moveOn()
    case .revoked, .notFound, .transferred:
      self.logout()
    @unknown default:
      self.logout()
  }
}
You will want to run this check whenever your app launches or a protected view is about to be presented and you've determined that it is indeed an existing user. Any state other than authorized should then prompt your app remove any saved credentials and revoke the user's access to all the protected areas of your app.
This is basically it! You are now ready to fully support Sign In With Apple. Congratulations.
Conclusion
Using this authentication method is, without doubt, a very pleasant experience. Apple does try to make it as smooth as possible while protecting personal data. This is unseen with other social login solutions.
For developers, Apple also tried to make it as easy as possible and implementing this in a mobile app shouldn't take much time. Predictably enough, you shouldn't expect that users will share their real email with you, but on the other hand it will make it possible for new users to quickly create an account in your app and start using your service right away.
We hope this post inspires you to start using it and, as always, feel free to contact us via our Support Channel if you have any suggestions, corrections or doubts.


