In an increasingly globalized world, where users might use their devices in languages not associated with the regions where they are, it is important that your app can display data in a human-friendly way.
In this post we will take a glance into the formatters APIs available for you in iOS. Regardless if your app is available in only one language or in several different languages, it is crucial that data is displayed accordingly in order for you users to clearly understand it. It is also something that improves with each iOS update, where machine learning models are trained to understand more and more nuances with languages and regions.
What's available?
With these formatters you can easily save yourself some headaches. They will make sure that easy things are simple and complex things are possible. It is a great way to ensure you can have future-proof code that you do not need to change when you extend support for more languages.
Here's a list of what you can format with these APIs:
- Dates and Times
- Measurements
- Names
- Lists
- Numbers
- Strings
Dates and Times
Let's start with a simple example. By using the default styles for date formatting you can easily create a formatted date using the code below:
let dateFormatter = DateFormatter()
dateFormatter.dateStyle = .medium
dateFormatter.timeStyle = .short
dateFormatter.string(from: Date())
This would allow you to display the following:
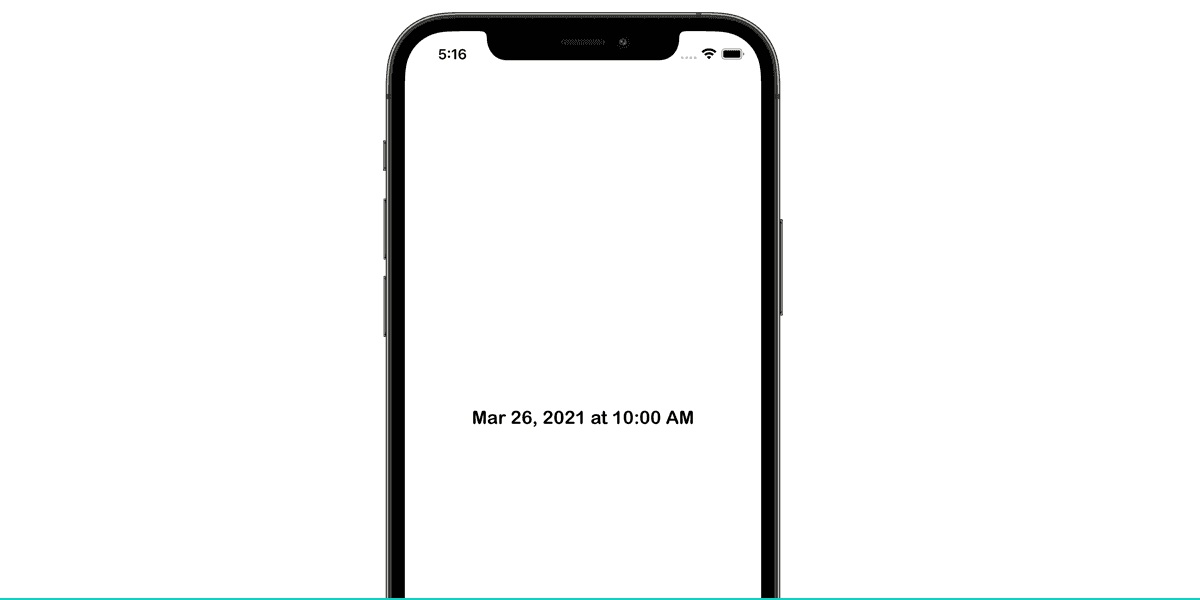
Note the word at, which is added for you based on those styles. This would be particularly useful and done automatically for all the languages your app might support. Now let's do something a little bit more complex which you cannot achieve using the default styles. When that is the case, we can use custom templates and date field symbols from Unicode:
let dateFormatter = DateFormatter()
dateFormatter.setLocalizedDateFormatFromTemplate("MMMMdEEEE")
dateFormatter.string(from: Date())
This would automatically display a formatted date as follows:
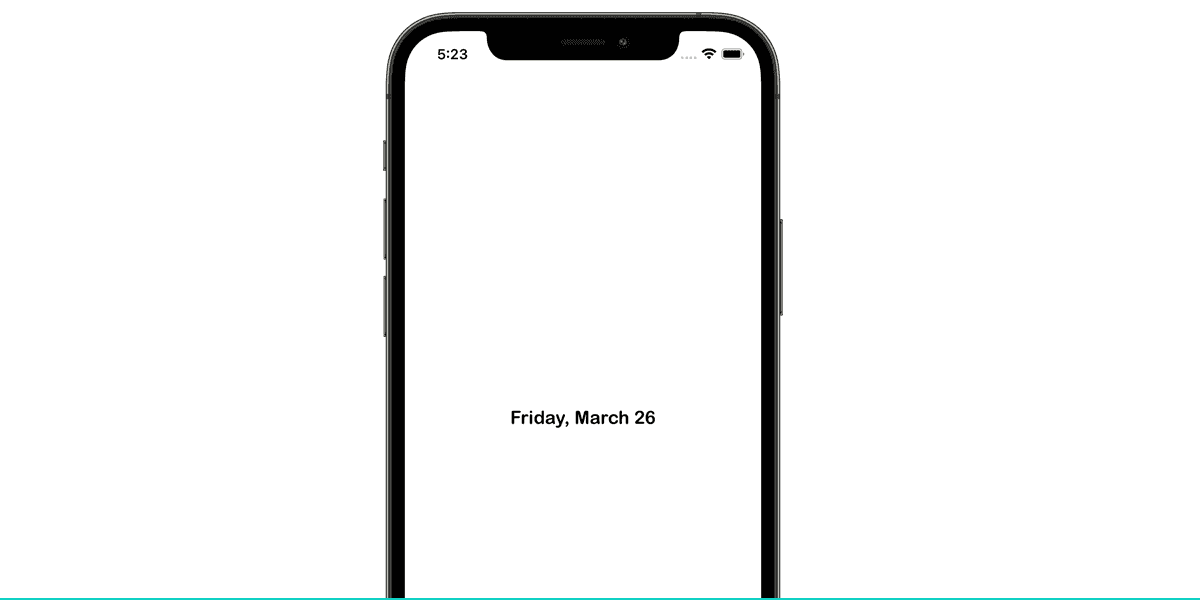
This same code would display different results depending on your language/region combinations, allowing you to display human-friendly dates.
There are a few more APIs for formatting dates and times. For example, the Date Components Formatter helps you format components, such as those used in durations:
let formatter = DateComponentsFormatter()
formatter.unitsStyle = .abbreviated
let components = DateComponents(hour: 4, minute: 30)
formatter.string(from: components)
You can also format ranges of time using the Date Interval Formatter:
let formatter = DateIntervalFormatter()
formatter.dateTemplate = "dMMM"
formatter.string(from: startDate, to: endDate)
Or use the Relative Date Time Formatter, if you ever need to display dates in the past or the future in a natural manner:
let formatter = RelativeDateTimeFormatter()
formatter.dateTimeStyle = .named
formatter.localizedString(from: DateComponents(day: -1))
Measurements
If your app uses any type of measurement units, you will want to use the Measurement Formatter. For example, if your app displays a temperature, you can use the following formatter:
let formatter = MeasurementFormatter()
let temperature = Measurement<UnitTemperature>(value: 25, unit: .celsius)
formatter.numberFormatter.maximumFractionDigits = 0
This would automatically handle the value to be displayed in devices for regions where the Imperial system is used:
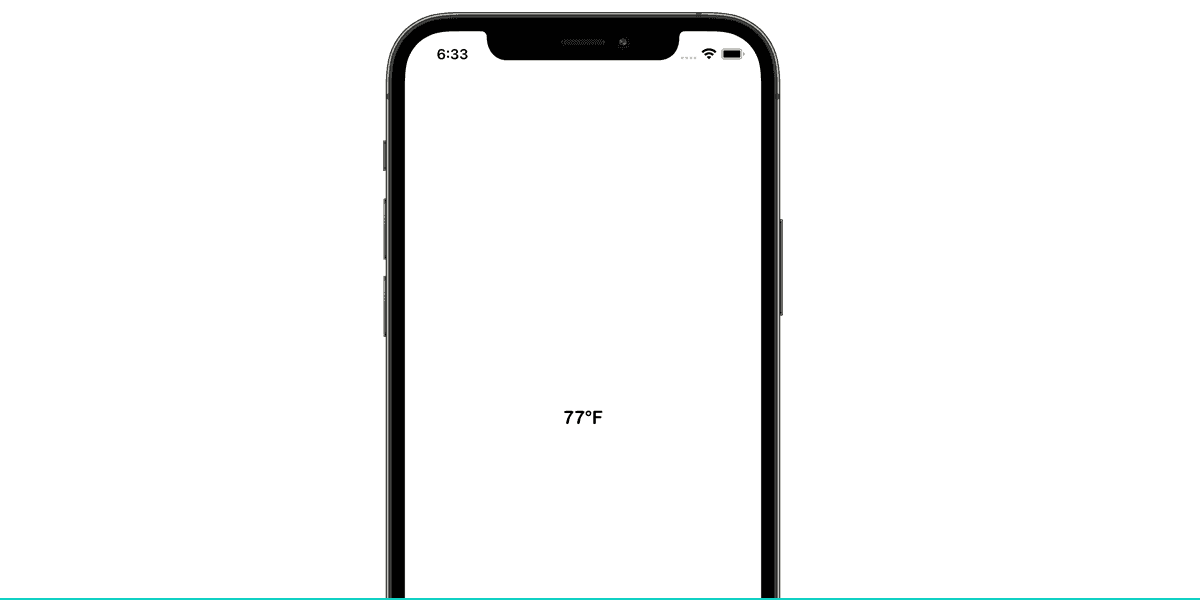
Pretty much the same way, you can use a variety of other units of measurement. For example, to display distances, you would use the following:
let speed = Measurement<UnitSpeed>(value: 10, unit: .kilometersPerHour)
formatter.string(from: speed)
The measurement formatter supports a variety of units, from temperature to energy and pressure to power, you will, for sure, find a solution for the data you want to display. And, in case you can't find a unit that you'd like to use, it can even support custom units.
Names
Getting your users' names displayed correctly in your app is crucial. After all, this is the most personal bit of information you'll work with, and your users will immediately notice if you do not handle it correctly.
Fortunately, you can simplify how you handle names using the Person Name Components Formatter. All you need to do is populate an object as follows:
let formatter = PersonNameComponentsFormatter()
var nameComponents = PersonNameComponents()
nameComponents.familyName = "Oliveira"
nameComponents.givenName = "Joel"
nameComponents.nickname = "JJ"
You can then retrieve it using styles. By default, this formatter will use the medium style:
formatter.string(from: nameComponents)You can change that by setting a style:
formatter.style = .short
formatter.string(from: nameComponents)
And even use an abbreviated version, perfect if you want to generate monograms, by using:
formatter.style = .abbreviated
formatter.string(from: nameComponents)
It's worth mentioning that this formatter has a lot of intelligence built in and takes into account things like the user's language settings, their contact settings, such as name order, as well as the name itself.
Lists
This formatter could not be any easier. You simply need to specify an array of strings, and get back a concatenated list:
// English version
let items = [ "English", "Portuguese" ]
ListFormatter.localizedString(byJoining: items)

// Portuguese version
let items = [ "Inglês", "Português" ]
ListFormatter.localizedString(byJoining: items)
This would allow you to automatically create a localized string as follows:
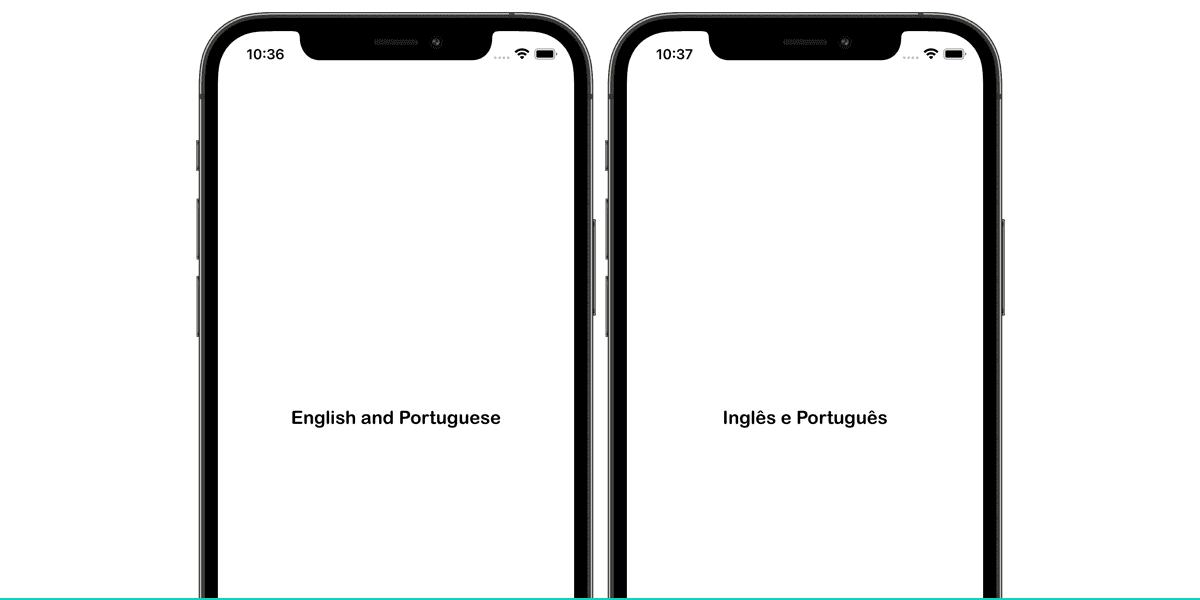
As you can see, devices will automatically display the word and accordingly and even take into consideration grammatical conditions where that word might change based on context.
Numbers
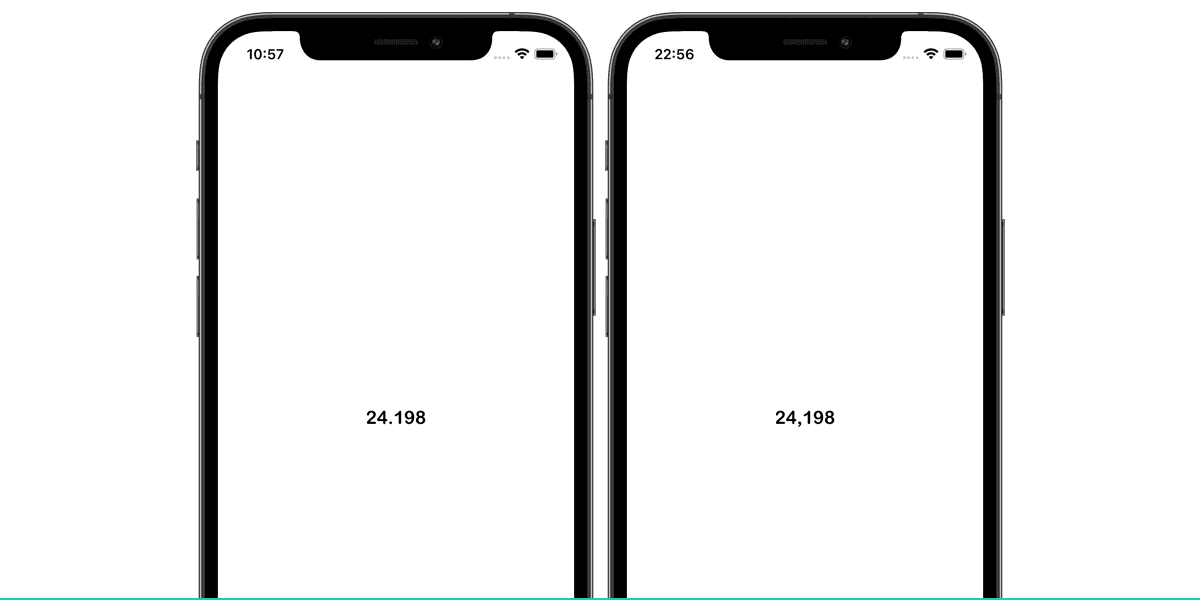
The Number Formatter does all the heavy lifting to ensure that everything is localized appropriately. For example, depending on the language and region of the device, the same number might display differently.
Take in consideration this example:
let formatter = NumberFormatter()
formatter.numberStyle = .decimal
formatter.string(from: 24.1979)
This example would display differently for users with a device in English (left) than users with a device in Portuguese (right):
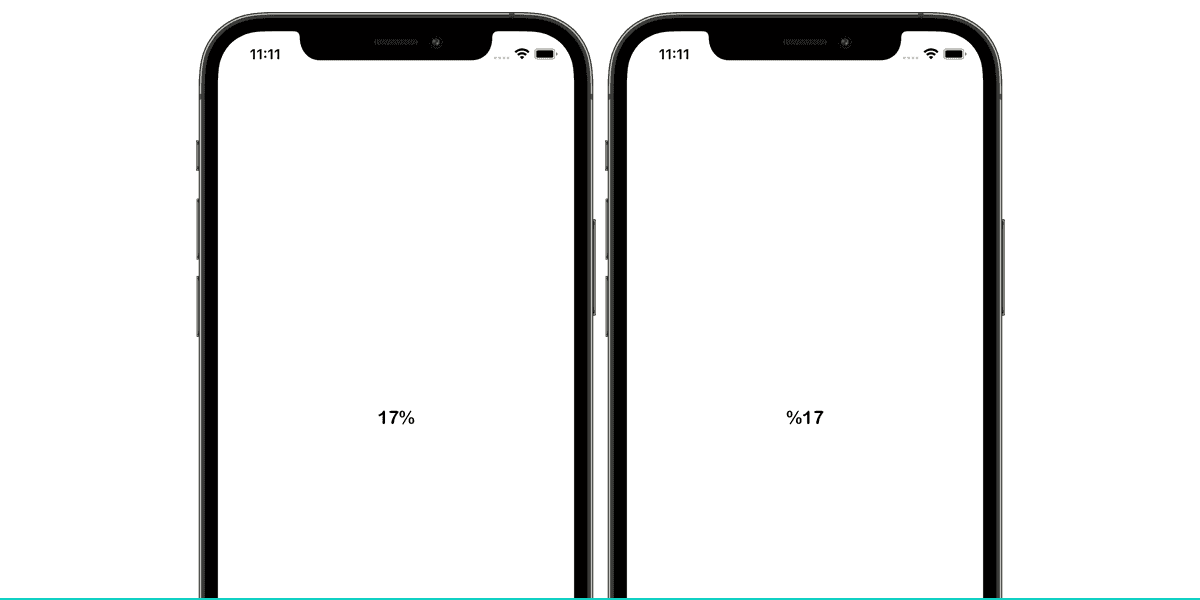
It is also possible to make use of other number styles, like the percentage:
let formatter = NumberFormatter()
formatter.numberStyle = .percent
formatter.string(from: 0.17)
Once again, depending on the device's language and region this value could assume different forms. In the image below you can see that this same code will display differently in English (left) than in Turkish (right):
There are also convenience methods to help you fetch the separator or percentage symbol as follows:
formatter.decimalSeparator // Get decimal separator
formatter.percentSymbol // Get percent separator
And there are also other number styles you can use like .currency and .ordinal, which will come in handy for a variety of things.
Strings
Lastly, let's take a look at how you can localize strings and more importantly, how you can automatically pluralize text in any locale. To accomplish this, you will use a .stringsdict file. You can create one from Xcode by clicking in File > New > File and select the Stringsdict File option:
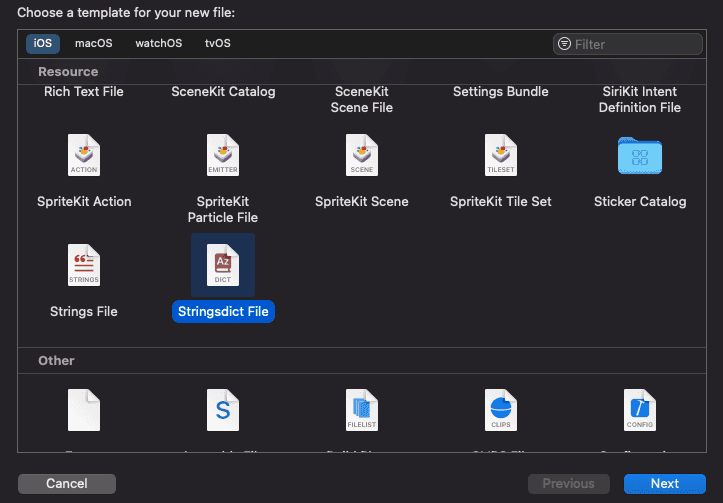
You should then edit the resulting file as follows:

If you then use the following code:
let unreadCount =  0
let formatString :  String = NSLocalizedString("unreadCount", comment: "")
let resultString :  String = String.localizedStringWithFormat(formatString, unreadCount)
You can automatically obtain different results whenever the value of unreadCount changes:
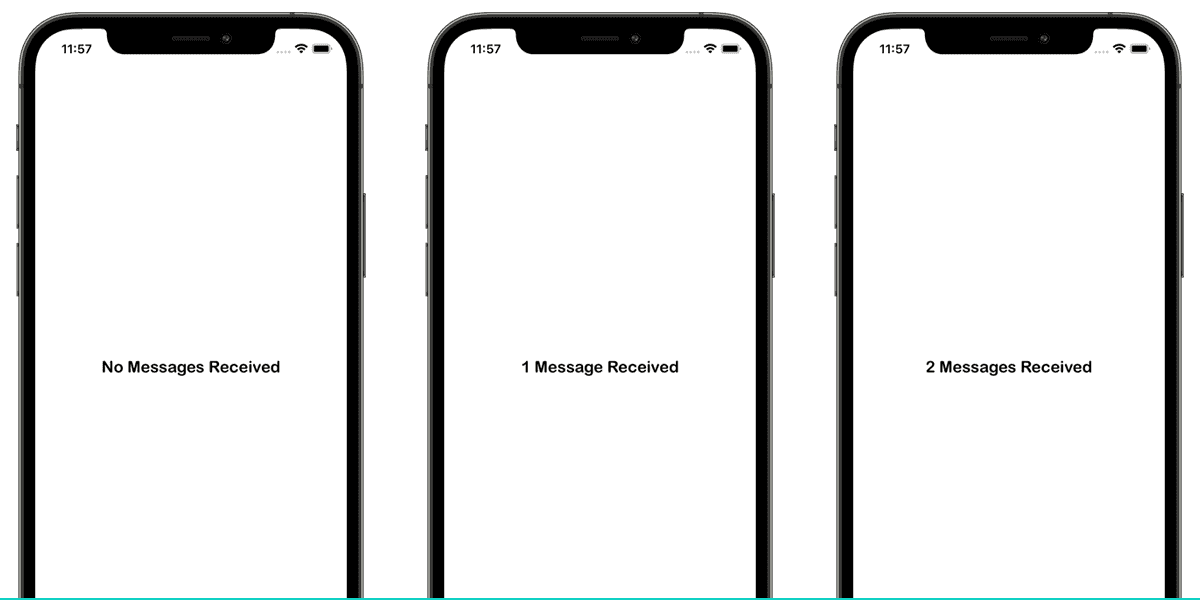
These files can also be localized in any language your app supports and include other forms of pluralized texts, as some languages might require different plural forms depending on the value provided.
Happy Formatting!
We hope this post was useful and that you can take advantage of these powerful APIs to take your multi-language app to a whole new level. As always, if you have any questions, suggestion or a correction to this post, don't hesitate to drop us a message.


