There is no need to say how much of an improvement SwiftUI was for the Apple ecosystem. Over the years, Apple has been continuously improving it. However, we still have a long way to go for the perfect framework — if there is such a thing.
A long-time pitfall with SwiftUI was navigation. The NavigationView never quite lived to be sufficient for even the most basic needs of an app.
With iOS 16, Apple introduced the new NavigationStack to address several lacking navigation needs. We wrote an article about it a while back.
Feel free to check it for more information on the NavigationStack.
Today we're leveraging NavigationStack's state-driven navigation to improve TabView's user experience!
The problem
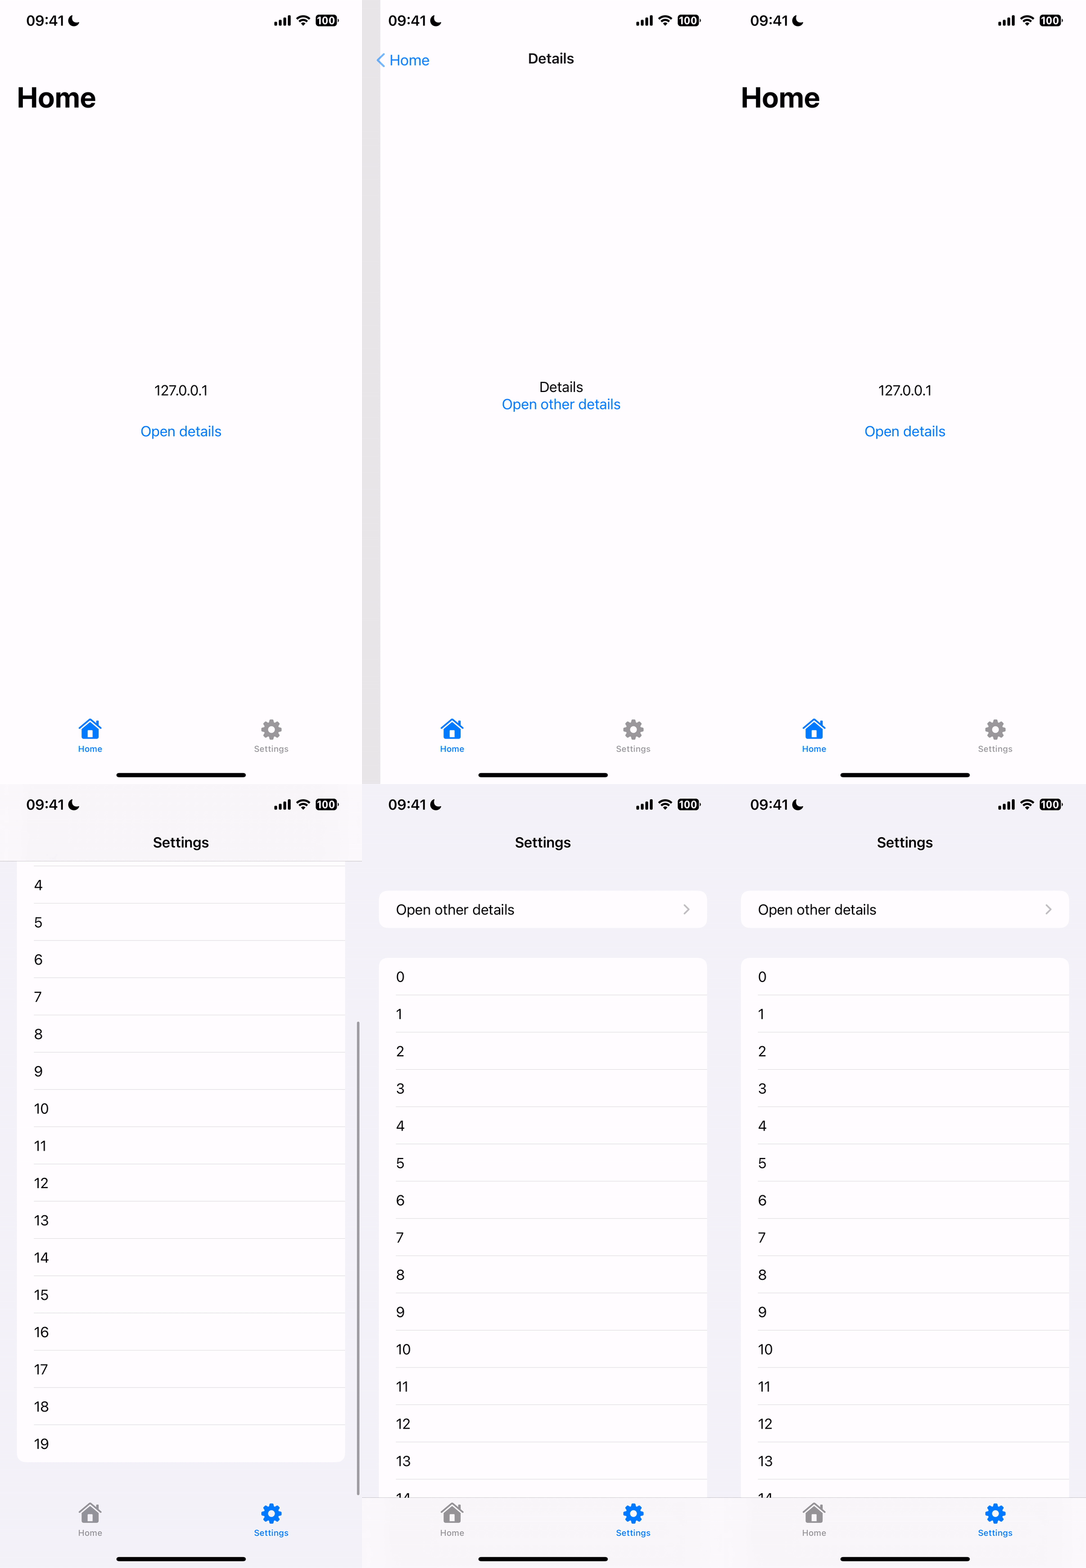
It's common practice to have two user-experience features when implementing tabbed navigation.
- Pop to the root when tapping the same tab from a child view;
- Scroll to the top when tapping the same tab from the root view.

The boilerplate
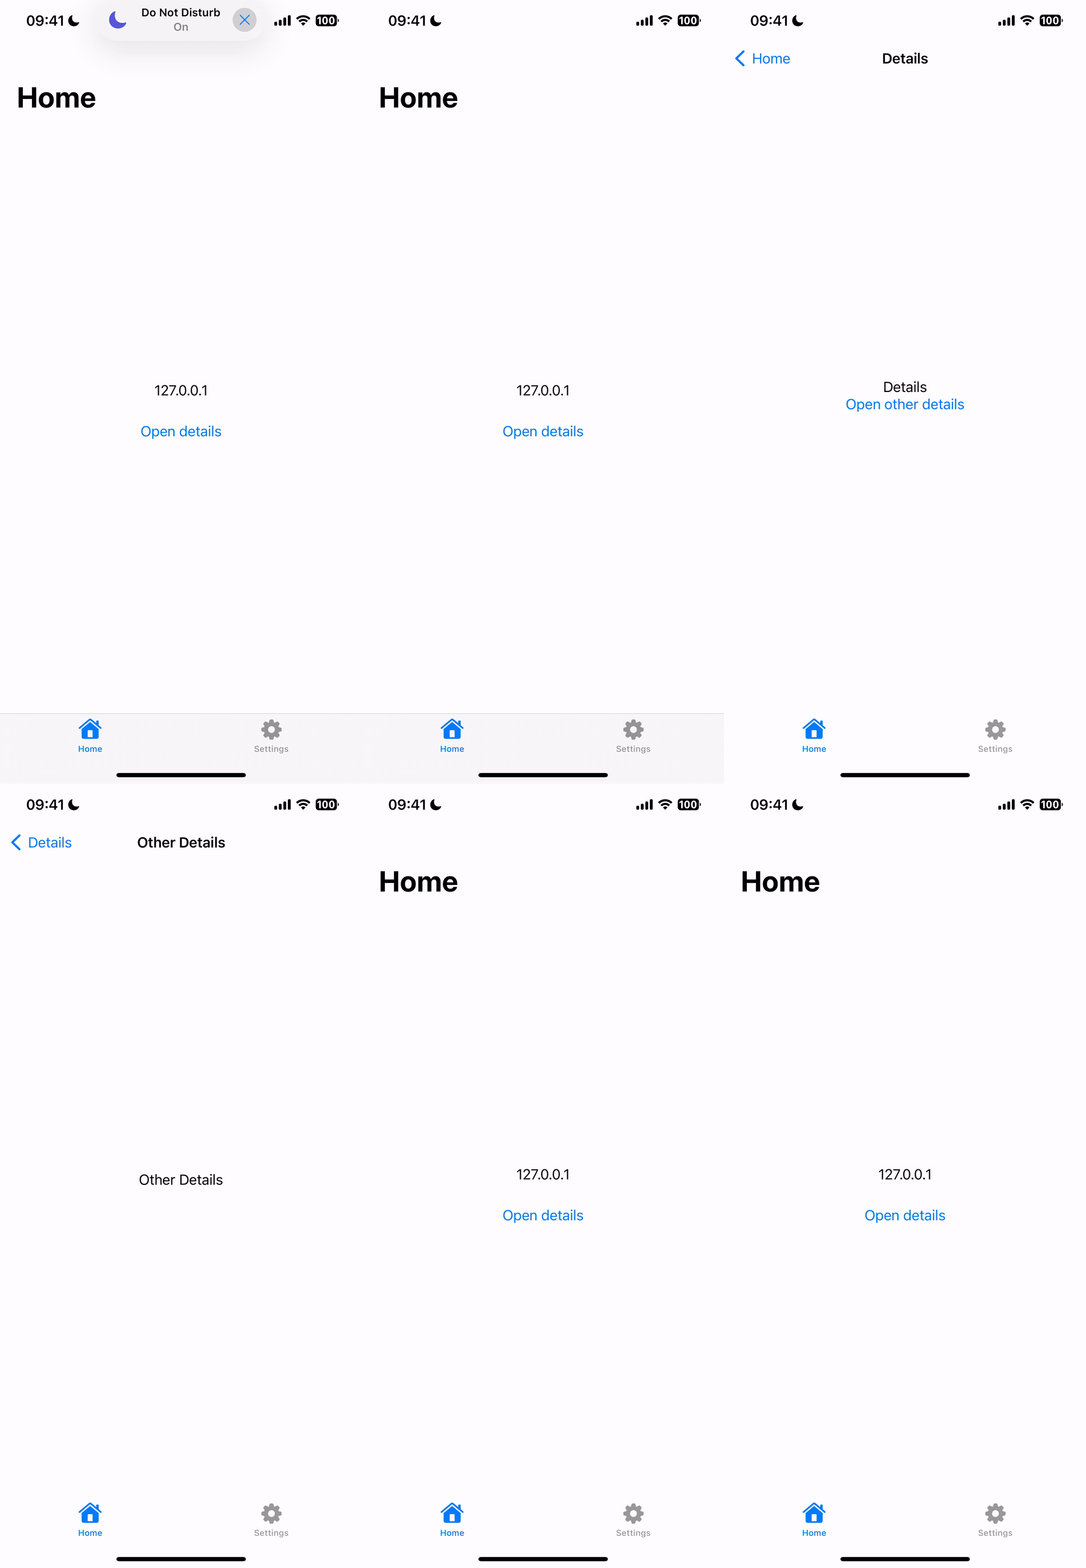
Before diving into the key features, let's start with some app boilerplate. There's a basic TabView with two child views. Each child view holds a NavigationStack, managing independent back-stacks.
Another aspect worth mentioning is keeping the navigation paths in an app-level state object to easily mutate it from anywhere, which is necessary for the first feature.
struct ContentView: View {
    @StateObject var appState = AppState()

    var body: some View {
        TabView(selection: $appState.selectedTab) {
            HomeView()
                .tag(ContentViewTab.home)
                .tabItem {
                    Label("Home", systemImage: "house.fill")
                }

            SettingsView()
                .tag(ContentViewTab.settings)
                .tabItem {
                    Label("Settings", systemImage: "gearshape.fill")
                }
        }
        .environmentObject(appState)
    }
}

class AppState: ObservableObject {
    @Published var selectedTab: ContentViewTab = .home
    @Published var homeNavigation: [HomeNavDestination] = []
    @Published var settingsNavigation: [SettingsNavDestination] = []
}

enum ContentViewTab {
    case home
    case settings
}

enum HomeNavDestination {
    case details
    case otherDetails
}

enum SettingsNavDestination {
    case otherDetails
}

struct HomeView: View {
    @EnvironmentObject var appState: AppState

    var body: some View {
        NavigationStack(path: $appState.homeNavigation) {
            VStack {
                Text("127.0.0.1")

                NavigationLink(value: HomeNavDestination.details) {
                    Text("Open details")
                }
                .padding()
            }
            .padding()
            .navigationTitle("Home")
            .navigationDestination(for: HomeNavDestination.self) { destination in
                switch destination {
                case .details:
                    DetailsView()

                case .otherDetails:
                    OtherDetailsView()
                }
            }
        }
    }
}

struct SettingsView: View {
    @EnvironmentObject var appState: AppState

    var body: some View {
        NavigationStack(path: $appState.settingsNavigation) {
            List {
                Section {
                    NavigationLink(value: SettingsNavDestination.otherDetails) {
                        Text("Open other details")
                    }
                }

                Section {
                    ForEach(0..<20) { index in
                        Text("\(index)")
                    }
                }
            }
            .navigationTitle("Settings")
            .navigationBarTitleDisplayMode(.inline)
            .navigationDestination(for: SettingsNavDestination.self) { destination in
                switch destination {
                case .otherDetails:
                    OtherDetailsView()
                }
            }
        }
    }
}

struct DetailsView: View {
    var body: some View {
        VStack {
            Text("Details")

            NavigationLink(value: HomeNavDestination.otherDetails) {
                Text("Open other details")
            }
        }
        .padding()
        .navigationTitle("Details")
        .navigationBarTitleDisplayMode(.inline)
    }
}

struct OtherDetailsView: View {
    var body: some View {
        VStack {
            Text("Other Details")
        }
        .padding()
        .navigationTitle("Other Details")
        .navigationBarTitleDisplayMode(.inline)
    }
}
Part one — pop to the root
By default, there is no way to handle a second consecutive tap of a tab bar item since the TabView will ignore the repeated value.
A viable solution is creating an intermediate binding instead of passing the direct binding from the state object.
The intermediate binding receives a new value regardless of being repeated.
At that point, we can perform additional logic based on the current state of the navigation stack.
struct ContentView: View {
    // other code ...

    var body: some View {
        TabView(selection: createTabViewBinding()) {
            HomeView()
                .tag(ContentViewTab.home)
                .tabItem {
                    Label("Home", systemImage: "house.fill")
                }

            SettingsView()
                .tag(ContentViewTab.settings)
                .tabItem {
                    Label("Settings", systemImage: "gearshape.fill")
                }
        }
        .environmentObject(appState)
    }

    private func createTabViewBinding() -> Binding<ContentViewTab> {
        Binding<ContentViewTab>(
            get: { appState.selectedTab },
            set: { selectedTab in
                if selectedTab == appState.selectedTab {
                    print("tapped same tab")

                    switch selectedTab {
                    case .home:
                        withAnimation {
                            appState.homeNavigation = []
                        }

                    case .settings:
                        withAnimation {
                            appState.settingsNavigation = []
                        }
                    }
                }

                // Make sure the new value is persisted.
                appState.selectedTab = selectedTab
            }
        )
    }
}
Caveats
No good solution is without caveats. Although the NavigationStack is a significant improvement, it still has some kinks.
The animation is smooth when popping a single item from the back stack. However, popping more than one item results in no animation whatsoever.

Part two — scroll to the top
Scrolling to the top requires direct interaction with the scroll view inside each NavigationStack. To leverage this, you must use an explicit ScrollView or something that uses one internally — like a List.
The solution revolves around the ScrollViewProxy.scrollTo(_:anchor:) method.
This method will scan all ScrollViews inside the ScrollViewProxy, find a view containing the specific id and scroll to that point.
Because code speaks a thousand words? 🤔
// 1. Create an enum with all the possible anchor points.
enum ScrollAnchor {
    case settings
}

// 2. Assign the identifiers to the appropriate views.
struct SettingsView: View {
    @EnvironmentObject var appState: AppState

    var body: some View {
        NavigationStack(path: $appState.settingsNavigation) {
            List {
                Section {
                    NavigationLink(value: SettingsNavDestination.otherDetails) {
                        Text("Open other details")
                    }

                }
                .id(ScrollAnchor.settings) // <--

                Section {
                    ForEach(0..<20) { index in
                        Text("\(index)")
                    }
                }
            }
            .navigationTitle("Settings")
            .navigationBarTitleDisplayMode(.inline)
            .navigationDestination(for: SettingsNavDestination.self) { destination in
                switch destination {
                case .otherDetails:
                    OtherDetailsView()
                }
            }
        }
    }
}

// 3. Throw in the ScrollViewProxy
struct ContentView: View {
    // more code ...

    var body: some View {
        ScrollViewReader { proxy in
            TabView(selection: createTabViewBinding(scrollViewProxy: proxy)) {
                // more code ...
            }
        }
        .environmentObject(appState)
    }

    private func createTabViewBinding(scrollViewProxy: ScrollViewProxy) -> Binding<ContentViewTab> {
        Binding<ContentViewTab>(
            get: { appState.selectedTab },
            set: { selectedTab in
                if selectedTab == appState.selectedTab {
                    print("tapped same tab")

                    switch selectedTab {
                    case .home:
                        withAnimation {
                            appState.homeNavigation = []
                        }

                    case .settings:
                        if appState.settingsNavigation.isEmpty {
                            // Tapping the TabItem from the root.
                            // Scroll to top.

                            withAnimation {
                                scrollViewProxy.scrollTo(ScrollAnchor.settings, anchor: .bottom)
                            }
                        } else {
                            // Tapping the TabItem from a child view.
                            // Pop to root.

                            withAnimation {
                                appState.settingsNavigation = []
                            }
                        }
                    }
                }

                // Make sure the new value is persisted.
                appState.selectedTab = selectedTab
            }
        )
    }
}
You may have noticed the anchor: .bottom and thought that was odd. The documentation states the following:
If anchor is non-nil, it defines the points in the identified view and the scroll view to align. For example, setting anchor to top aligns the top of the identified view to the top of the scroll view. Similarly, setting anchor to bottom aligns the bottom of the identified view to the bottom of the scroll view, and so on.
The minor detail about not going with the obvious .top is the scroll view will happily scroll to the top of that view but will not account for the default spacing between itself and the app bar title.
Instead, by tagging the first view in the scroll view and using .bottom, the content below the view will push it to the top, preserving the default spacing.
Wrapping up
At this point, we have a close-to-perfect tabbed navigation.
By taking advantage of the NavigationStack we can implement those details without too much fuss around programmatic navigation.
However, the search for the optimal solution continues since there are some remaining caveats.
A more robust solution could be ditching SwiftUI's navigation mechanisms, reverting to the good-old UINavigationController and bridging the gap between the two technologies, but more of that later. Stay tuned!
As always, we hope you liked this article and if you have anything to add, we are available via our Support Channel.


