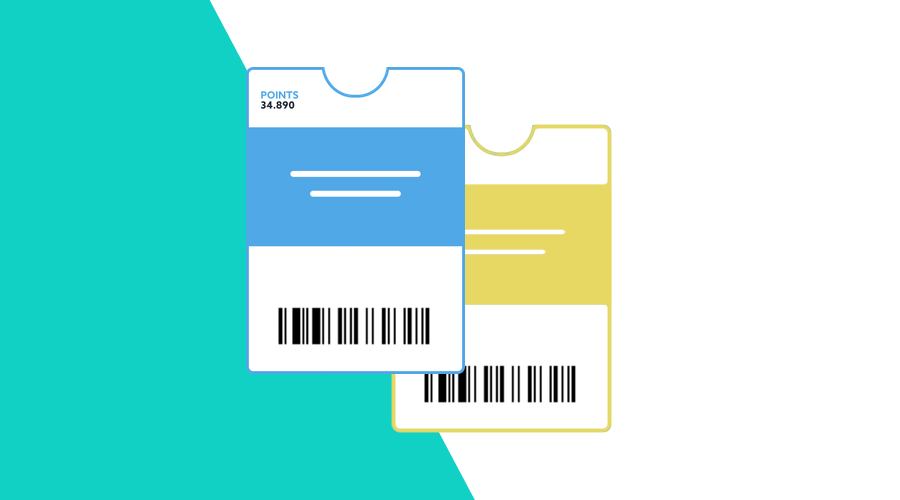
The Notificare Loyalty feature is a great way to create and distribute passes to both Apple Wallet and Google Wallet.
With the launch of version 2, we've also introduced Loyalty Programs. This allows you to create your own Loyalty Program(s) with Apple Wallet and Google Wallet items associated with user profiles.
Although this is currently still in Beta, we want to show you the potential of these Loyalty Programs for some typical use case.
Multi-tier Loyalty Programs
One of the most powerful features of the Notificare Loyalty Program is the ability to define multiple tiers in your program, like Silver and Gold members. Programs can have rules that determine the conditions on which members change to another tier.
In this blog post, let's take a look on how to set up these different tiers and employ balance rules to automatically upgrade members.
For this example, we will use 2 tiers, a default one for level Novice and a premium one for level Expert.
Step 1: Create Templates
First, we create 2 templates for each tier.
To be able to associate the wallet items to the member profiles, let's make sure we have the following fields:
accountName: will be used to show the name of the member, also needs a member profile field.accountEmail: will be used to show the email of the member, also needs a member profile field.accountId: will be used to associate the pass to the memberId.credit: the field to show the balance for the member.level: the name of the level for this tier (in this case, Novice or Expert).color: the background color of the wallet item, different per tier (white or green).
Let's start with the Default tier template. Define the level and color field as common fields:
And the other fields as pass-specific fields:
For the Premium tier, we use almost the same template, but we set the level and color fields to different values:
Step 2: Create a Loyalty Program
Now, create a new Loyalty Program and add the templates as we created them in step 1:
Add the Profile fields name and email and map these to the template fields accountName and accountEmail:
Define which template fields will be used to display the balance and the memberId and set a default balance:
Step 3: Create a Member Profile
For this, you will need to use a REST API call, because the creation and updating of loyalty members should be synchronized from your backend integration, not from the Dashboard.
To be able to create a member profile, you need to have a userID that is already registered for your app in Notificare.
By default, the memberId will be the same as the userID, but you can of course set a specific memberId if needed.
If no information about tier or balance is given, the member will be set in the default tier (first in the list) with a default value for the balance.
POST /loyalty/profile/forprogram/YOUR_PROGRAM_ID{
"userID":"YOUR_USER_ID",
"fields": [{
"key": "name",
"value": "Test"
}, {
"key": "email",
"value": "test@example.com"
}]
}If we retrieve the profile, we will see the default values are indeed set:
GET /loyalty/profile/forprogram/YOUR_PROGRAM_ID{
"profiles": [
{
"program": "YOUR_PROGRAM_ID",
"userID": "YOUR_USER_ID",
"memberId": "YOUR_USER_ID",
"tier": 0,
"balance": 100,
"currency": "EUR",
"language": "en",
"fields": [
{
"key": "name",
"value": "Test"
},
{
"key": "email",
"value": "test@example.com"
}
],
"passes": [],
"created": "2023-04-13T13:18:50.283Z",
"lastUpdated": "2023-04-13T13:18:50.283Z",
"loyaltyPass": "xxxxxxxxxxxxx"
}
],
"count": 1
}As you can see, a wallet item was generated for this profile (the loyaltyPass property), it looks like this:
Step 4: Set balance rules
We are going to set 2 rules: one that upgrades the member from tier 0 (Default) to tier 1 (Premium) if the balance is 500 or more. The second rule will do the opposite:
Step 5: Update the Member Profile
Now, let's update the balance of the member profile to a value of 500, which will cause an upgrade to the Expert level:
PUT /loyalty/profile/YOUR_PROFILE_ID{
"balance": 500
}As you can see when fetching the profile, it will have been updated to the next tier:
GET /loyalty/profile/YOUR_PROFILE_ID{
"program": "YOUR_PROGRAM_ID",
"userID": "YOUR_USER_ID",
"memberId": "YOUR_USER_ID",
"tier": 1,
"balance": 500,
"currency": "EUR",
"language": "en",
"fields": [
{
"key": "name",
"value": "Test"
},
{
"key": "email",
"value": "test@example.com"
}
],
"passes": [],
"created": "2023-04-13T13:18:50.283Z",
"lastUpdated": "2023-04-13T13:18:50.283Z",
"loyaltyPass": "xxxxxxxxxxxxx"
}When we open the wallet item for this profile, it now looks like this:
Conversely, if we change the balance back to 100, the wallet item will change back to the default tier variant.
Conclusion
If set up correctly, changes in tiers and consequent changes in visual appearance of the wallet items can be handled automatically, solely based on the value of a member's balance.
This powerful feature allows you to use a clear distinction in loyalty program levels, immediately visible to the members themselves from within their Apple or Google Wallet.
As always, if you need assistance or have any questions, we are available via our Support Channel.


