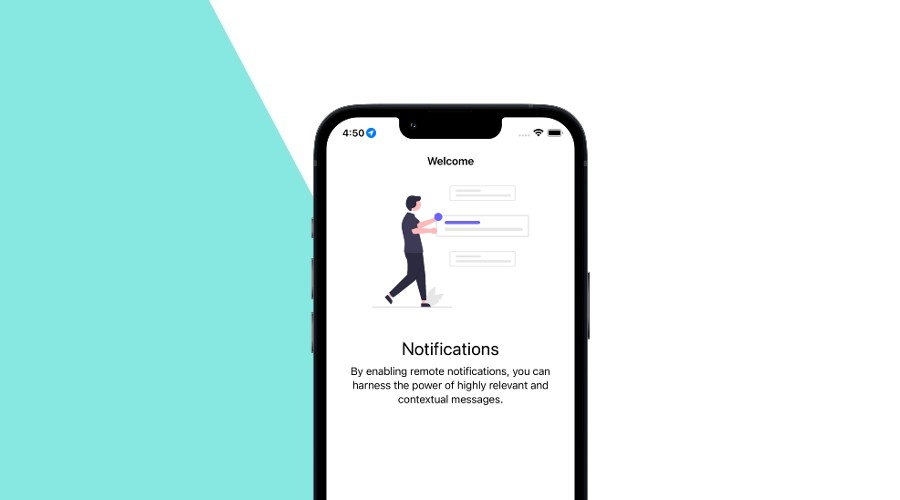
iOS Notifications' Permission

The basics of the permission request flow for notifications

Welcome back to our ongoing blog post saga about the permission request. We're going to explore in detail, the notifications' permission, following the recommended flow and handle all possible scenarios.
Feel free to check out our previous articles on handling permission requests for Android, Flutter, and Cordova and Ionic.
iOS vs Android
If you are familiar with permission requests in Android or have been following these series or posts, it may be helpful to identify the main differences between the two platforms.
In Android, there are two main permission statuses: granted and denied. In iOS you will encounter authorized, denied, not determined, provisional and ephemeral statuses.
At first glance, Android seems straightforward: granted means good to go, and denied means we need to request permission. But what if the permission is permanently denied?
In a previous blog post, I described how to handle this situation in Android. In iOS it's easier to manage, once a permission is denied in the first request, it is permanently denied (transitioning from not determined to denied). However, in Android, you can still request that permission a second time, this time providing a permission rationale.
Another important note is that in iOS, you cannot dismiss the permission request popup, whereas in Android, you can dismiss it by clicking outside the dialog window.
Recommended Flow
For a consistent flow, it is common to perform the following steps before requesting permission:
- Check the permission status.
- Act accordingly based on that status:
- If the status is
Authorized, it means the permission has already been granted. In this case, you can proceed with the desired functionality without needing to request permission again. - If the status is
Denied, it indicates that the permission has been permanently denied by the user. In such a scenario, it is important to provide a clear explanation to the user about why the permission is required and direct them to the application's settings screen, where they can manually enable the permission. - If the status is
Not Determined, it implies that the user has not yet made a decision regarding the permission. In this case, you should proceed with requesting the permission, allowing the user to make a choice.
- If the status is
Notifications Permission
For this permission, we will interact with the UNUserNotificationCenter.
private let notificationCenter = UNUserNotificationCenter.current()We can determine the permission status by using the following code snippet:
private func checkNotificationPermissionStatus() {
    notificationCenter.getNotificationSettings { settings in
        switch settings.authorizationStatus {
        case .authorized:
            // The permission is granted.
        case .denied:
            // The permission is permanently denied.
        case .notDetermined:
            // The user has not yet made a choice regarding whether the application may post user notifications.
        case .provisional:
            // The application is authorized to post non-interruptive user notifications. (iOS 12+)
        case .ephemeral:
            // The application is temporarily authorized to post notifications. Only available to app clips.
        @unknown default:
            // Handle future permission cases if any
        }
    }
}
This allows us to access the permission status by calling getNotificationSettings on the UNUserNotificationCenter.
Inside the completion block, we utilize a switch statement to handle different authorization statuses.
Depending on the case, we can implement specific logic or actions accordingly.
When it comes to your application's requirements, you will usually focus on three permission statuses: authorized, denied, and not determined.
To request the permission, you can use the following code:
private func requestNotificationsPermission() {
    let options: UNAuthorizationOptions = [.alert, .badge, .sound]

    notificationCenter.requestAuthorization(options: options) { granted, error in
        if let error = error {
            // Handle the error
            return
        }

        if granted {
            // User granted notification permission
            // Perform any additional setup or actions
        } else {
            // User denied notification permission
        }
    }
}
You can customize the notification's options as per your requirements, but in most cases, using the options .alert, .badge, and .sound is pretty common.
These options cover the common aspects of a notification's functionality, allowing you to display an alert, update the badge icon, and play a sound when delivering notifications to the user.
However, feel free to modify or expand these options based on your specific needs.
Conclusion
Throughout this blog post, we have explored the process of requesting permission for notifications and handling various scenarios. Notificare's SDK abstracts this functionality for you, while allowing you to take full advantage of what iOS has to offer.
Stay tuned for our next blog post covering permissions for Location Services, and as always, we hope this post was helpful and feel free to share with us your ideas or feedback via our Support Channel.
