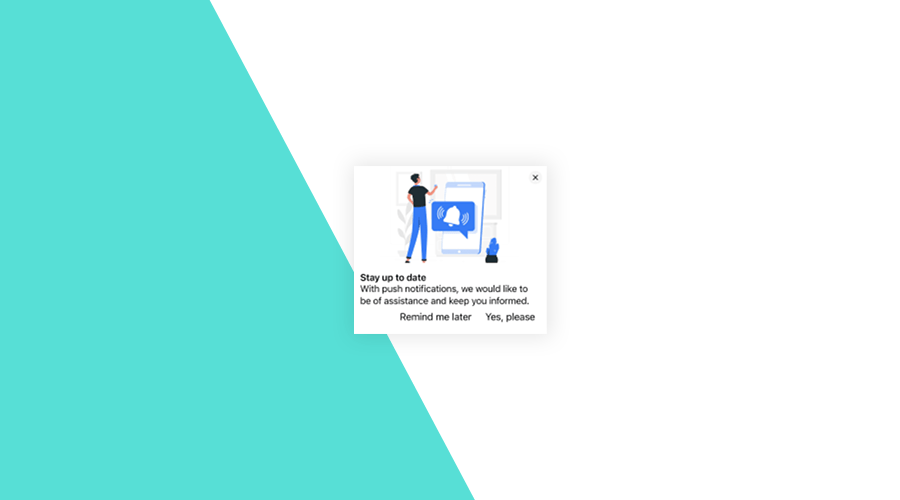
Web Push - Custom Pre-Permission

How to build a pre-permission that fits your look and feel

For several years, we've been talking about pre-permissions and how it can improve your opt-in rates for push notifications while remaining complaint with browser's requirements. With web push, it is even possible to use one of our managed pre-permission modes to effortlessly request permission for push notifications.
Although these modes are probably more than enough for most use cases, sometimes you simply want to build your own onboarding flow, one that perfectly matches your wishes and your website's look and feel. In this post, we will explore how you go about building your own pre-permission dialog, using some of our Web SDK methods.
Implementing our SDK
Assuming that you've already followed our setup guides, and you've chosen the None mode in the Launch Configurator, you are now ready to build your own pre-permission,
We will start by implementing our library like we would if we were using any of the managed approaches. There are 2 ways of including our SDK in a web app, using NPM or CDN.
Whatever you use, the next step will be the same. First, we will need to launch Notificare:
import { launch, onReady } from 'notificare-web/core';

onReady(() => {

});
await launch();
After this point, if everything is configured correctly, we should already see our library being initiated.
While in development, we will want to receive debug messages. We do this by including the following line, just before the launch() method:
import { launch, onReady, setLogLevel } from 'notificare-web/core';

setLogLevel('debug');
onReady(() => {});
await launch();
The pre-permission
Now that we've initiated the SDK, we are ready to request permission for push notifications from our users. In this example, we will add a banner on the top of the web app, where we will place a small text, and a cancel and accept buttons. Something similar to the following:
To do something like this, we would need to add the following markup in our pages:
<div id="prePermissionBanner" style="display: none;">
    <div class="text">We would like to send you notifications for our latest news, updates and events.</div>
    <button id="cancelButton">No, thanks</button>
    <button id="acceptButton">Yes, definitely</button>
</div>
Of course, this is just an example, and this is where you can add your own touch to the pre-permission dialog. Whatever markup you use or CSS styles you add, the important bit is that you provide enough information to incite users to accept push notifications.
Furthermore, whatever look you settle for, you will need to have two buttons, one that hides the pre-permission and one that requests the native notification prompt. With that in mind, we will then proceed to implement the interactive part of the pre-permission dialog. We will use some helper methods from our SDK to achieve this.
First, we will decide if we can show the pre-permission. Displaying the dialog only makes sense if it fits the following criteria:
- The browser supports web push
- The user did not yet allow or deny push notifications
Therefore, we will then use the onReady() callback function to implement this functionality:
import { launch, onReady } from 'notificare-web/core';
import { enableRemoteNotifications, hasWebPushCapabilities, getPushPermissionStatus } from 'notificare-web/push';

onReady(() => {
  const prePermissionBanner = document.getElementById('prePermissionBanner'),
        cancelButton = document.getElementById('cancelButton'),
        acceptButton = document.getElementById('acceptButton');
  if (hasWebPushCapabilities() && getPushPermissionStatus() === 'default') {
    prePermissionBanner.style.display = 'block';
    cancelButton.addEventListener('click', () => {
      prePermissionBanner.style.display = 'none';
    });
    acceptButton.addEventListener('click', async () => {
      prePermissionBanner.style.display = 'none';
      await enableRemoteNotifications();
    });
  }
});
await launch();
Let's go quickly through this code. We will need to import a few more methods from our push module. These methods will allow us to determine if we should display the pre-permission or not.
We will then gather references to the pre-permission banner and the buttons' elements. This is how we will be able to display or hide the banner and listen to click events from those buttons. And thanks to the helper methods imported from our push module, we will be able to perform a check and only then display our pre-permission dialog if the user meets our criteria.
Furthermore, when users click the cancel button, we will simply hide the pre-permission.
On the other hand, for users that click accept, we will hide the pre-permission and invoke the enableRemoteNotifications(), which will trigger the native prompt.
It's that simple!
Other customizations
You can make this pre-permission as complex as you want. After all, that's basically the reason why you would want to create your own pre-permission rather than use one of our managed launch modes.
For example, with our code above, although users can hide the pre-permission by clicking the cancel button, the pre-permission will be displayed again when the page reloads.
This is yet another point for customization. Let's say that we do not want to show the pre-permission again throughout the browser's session.
We could easily use sessionStorage() to prevent it from being displayed again, until the user closes the tab or the window.
We can then adjust our code as follows:
import { launch, onReady } from 'notificare-web/core';
import { enableRemoteNotifications, hasWebPushCapabilities, getPushPermissionStatus } from 'notificare-web/push';

onReady((application) => {
  const prePermissionBanner = document.getElementById('prePermissionBanner'),
        cancelButton = document.getElementById('cancelButton'),
        acceptButton = document.getElementById('acceptButton');
  if (hasWebPushCapabilities() && getPushPermissionStatus() === 'default' && !sessionStorage.get('prePermission')) {
    prePermissionBanner.style.display = 'block';
    cancelButton.addEventListener('click', () => {
      prePermissionBanner.style.display = 'none';
      sessionStorage.set('prePermission', 1);
    });
    acceptButton.addEventListener('click', async () => {
      prePermissionBanner.style.display = 'none';
      await enableRemoteNotifications();
    });
  }
});
await launch();
Easy, right?
As you can see, adding a custom pre-permission is not rocket science and our SDK provides all you need to accomplish it. You should however consider, if that's really necessary for your use case. For most web pages, using one of our managed launch modes is more than enough and can save you precious development time.
As always, we are available via our Support Channel for any question you might have.
