The Frequency of an Automation Connector

Add powerful intelligence to your event-driven campaigns

Over the past year, we've talked a lot about automating campaigns. Sending messages based on user behavior provides relevance and, therefore, higher conversion rates. But how often do you need to respond to this behavior? In this article, you will learn how to set up the frequency settings of an automation connector.
Setting up an Automation flow in Notificare is plain simple. By linking incoming events to segmentation or messaging, valuable insights into the customer profile are created, and you can communicate with your customer in a more targeted way. As described in another article, Events can come in through your own channels or any third-party system that connects to the Notificare APIs. An easier integration does not exist.
Imagine if you have the event tracking set up properly across your website, email, and mobile apps. And that this generates a huge amount of incoming traffic. Notificare is able to process these events in real-time. However, the logic of an Automation Connector is not wrapped in the event. Although without adding any logic, you can use events to generate reports that provide valuable insights, if you do apply some logic to these events, you'll be able to automate how your categorize your audience or how you create highly personal messaging experiences.
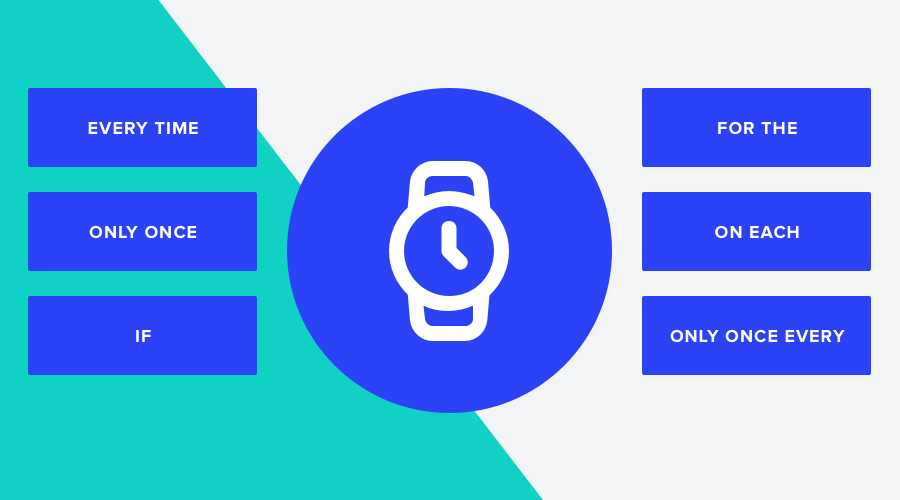
Every time, Only once, If a user...
The frequency of an Automation Connector will determine how often it will be executed. When using Every time, the connector will fire up every time that particular event is registered.
This can be useful after a purchase in the store, for example. You want to reward your customer, perhaps a free coffee for the next visit. And you want to do that every time there's a new purchase.
However, if you would like to send this message only the first time after such a purchase has taken place, then you use Only once.
And with If a user, you can make sure that your connector is not triggered more than once during a certain period of time.
Occasion & Interval
In the above example, we have seen that the customer gets a reward Every time or Only once. But by using the option Occasion you will be able to achieve more granular interactions. For example, do you want to send a message on the first purchase, or on the third time? You can also choose to use Every time in combination with Occasion, for example, to reward someone every time they make three purchases. If you use If a user in combination with an Interval, you can make sure that despite they make regular purchases, the user only gets one message within a certain period of time.
Delay, Skip Days, and Cancellation
Notificare assumes real-time events. And these Events come into the platform without any delay. Whereas sometimes you don't want to send out a message immediately after something has happened. For example, with an abandoned shopping basket, you often want to wait a day before sending out the message. This is where the delay comes into play. With this, you plan your campaign depending on when the event has taken place. Do you send it with a delay of a minute, an hour or a day? It's up to you.
You can also skip certain days of the week by using Skip Days. Useful for those cases where your connector should have some exceptions.
Finally, you have the option to set one or more cancellation events. This is an event that ensures that the connector should be cancelled. Think for example, of the abandoned shopping cart example. This reminder shouldn't, of course, go out if, in the meantime, the purchase has taken place.
Get that frequency right!
Do you also want to get started with fine-grained frequency settings in Automation Connectors? Don't hesitate to contact our Campaign Managers, who will be happy to assist you with tips and tricks.
