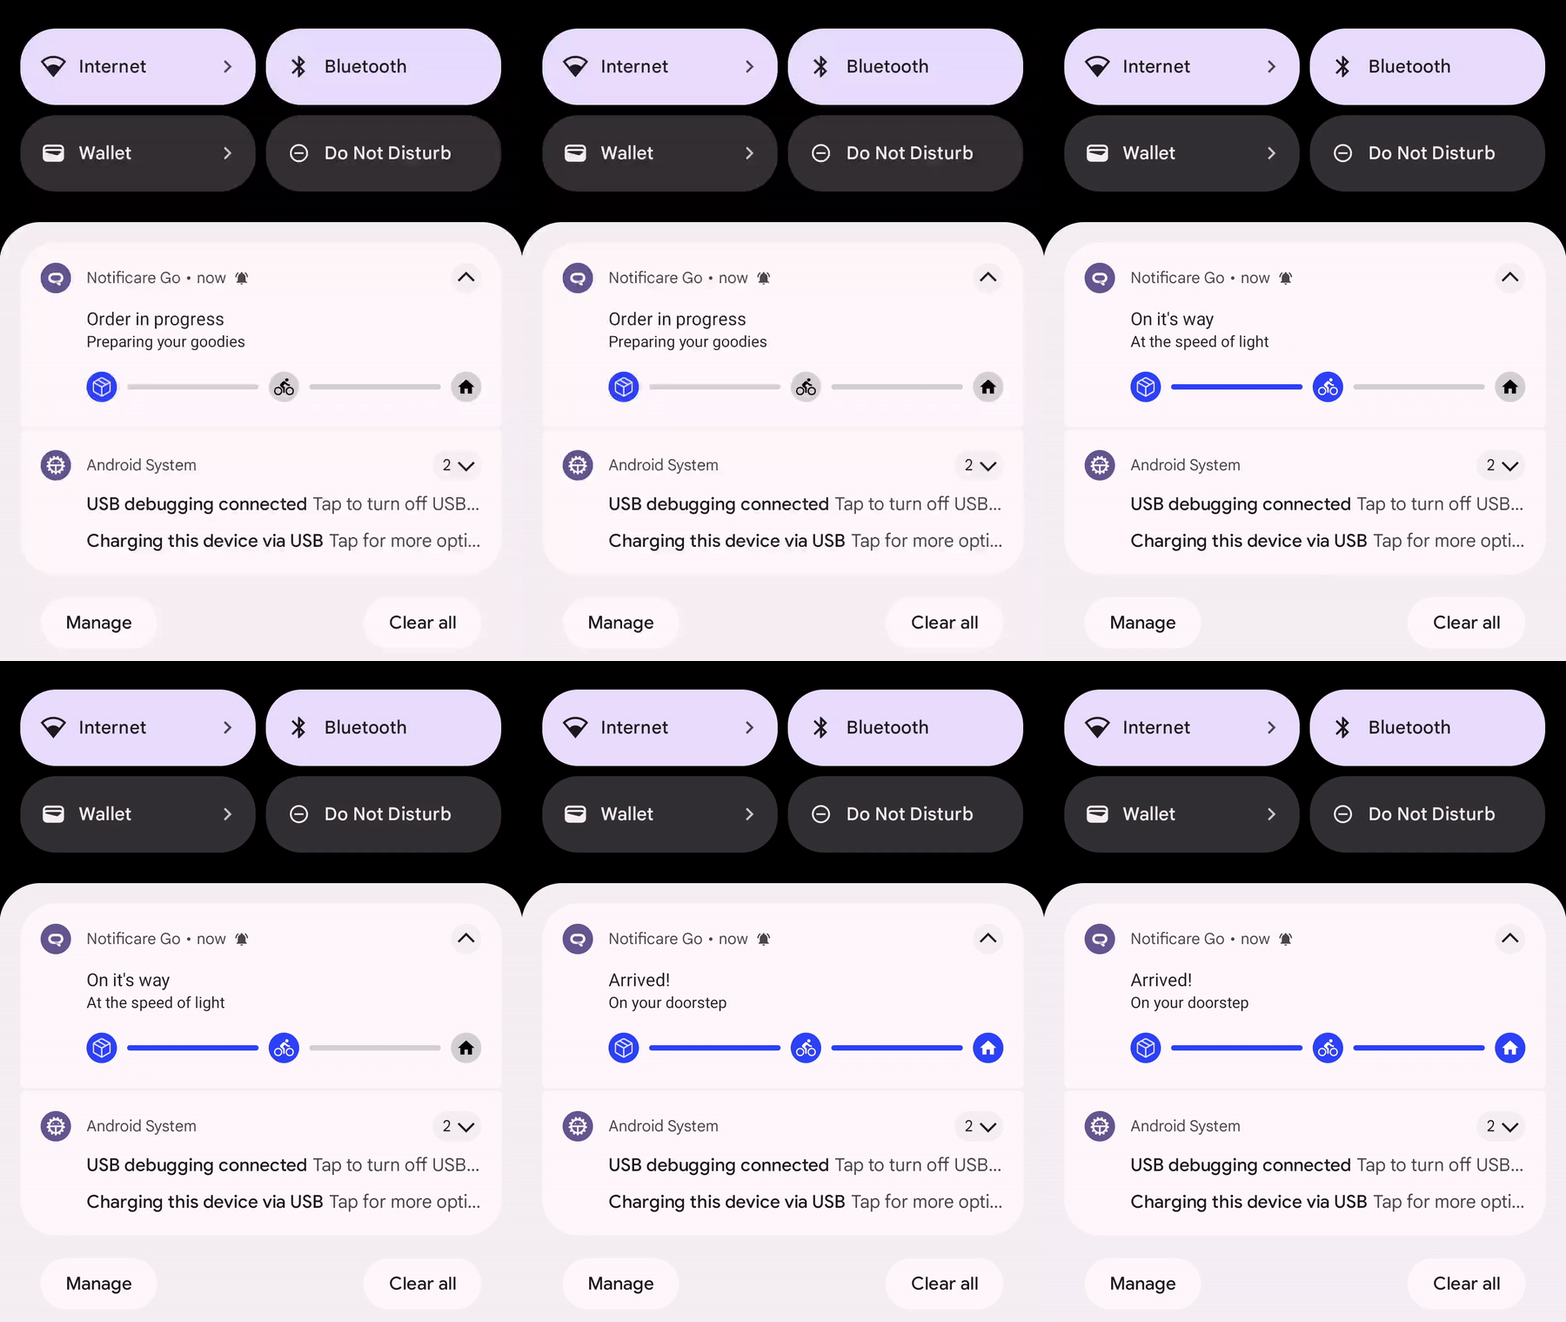
Our last article about Live Activities focused on building an order tracker for iOS. This time around, we're doing the same for Android. Of course, Android has no such thing as a Live Activity, but we can emulate this!
Where we're coming from
When Apple introduced Live Activities with iOS 16.1, it brought a fresh approach to providing meaningful at-a-glance information to users. While teams are investigating and developing creative ways to leverage this functionality, we're committed to providing an equivalent for Android.
The principle behind Live Activities is reasonably straightforward. You display some UI on the Lock Screen, and the OS provides automatic updates through remote notifications.
On Android, you can build any kind of UI. Whether you go for a Widget on the user's home screen or a Notification on the notification drawer and the lock screen, that's up to you. Consider your options and what's best for your particular use case.
The Notificare toolset
To assist you in developing this mechanism, we provide a way for you to register the ongoing activities and receive remote updates for them. The complete public API is quite simple, and we can narrow it down to the following:
// 1. Register an activity
Notificare.push().registerLiveActivity(
    activityId = "order-status",
    topics = listOf("optional", "topics")
)

// 2. End an ongoing activity
Notificare.push().endLiveActivity(
    activityId = "order-status",
)

// 3. Intent receiver for remote updates
class PushReceiver : NotificarePushIntentReceiver() {

    override fun onLiveActivityUpdate(context: Context, update: NotificareLiveActivityUpdate) {
        // Update the UI with the latest data.
    }

    override fun onTokenChanged(context: Context, token: String) {
        // Re-register any ongoing activities.
    }

}
Building the UI
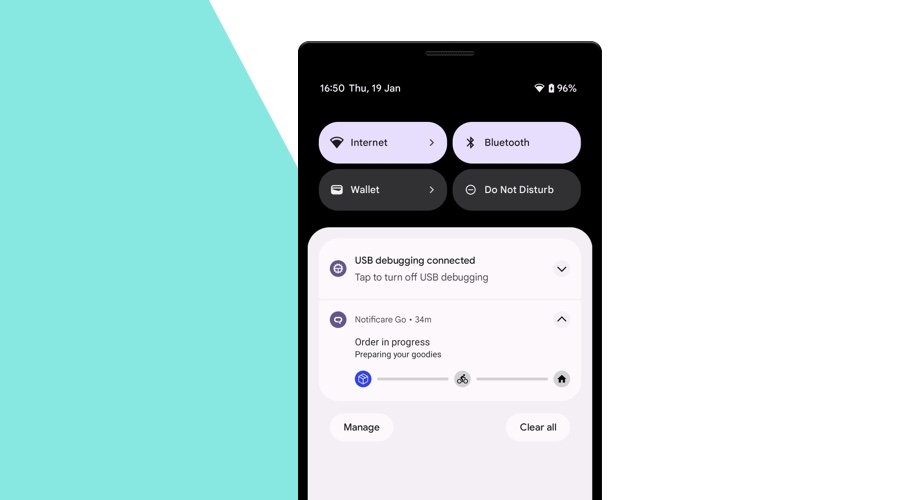
As we mentioned, the UI part is up to your imagination, but bear in mind that the OS has certain limitations. We consider that, the most meaningful way of displaying the information, is by presenting a custom notification on the lock screen.
In this case, the view height is the constraint with the most impact on what we can build. For more information on this subject, check the Android Developers' documentation.

Before we can place a notification on the lock screen, we must register a channel. The documentation is unambiguous, but, simply put, the following snippet illustrates how you can do it.
val notificationManager = context.getSystemService(Context.NOTIFICATION_SERVICE) as NotificationManager

val channel = NotificationChannel(
    "live-activities",
    context.getString(R.string.notification_channel_live_activities_title),
    NotificationManager.IMPORTANCE_DEFAULT
)

channel.description = context.getString(R.string.notification_channel_live_activities_description)

notificationManager.createNotificationChannel(channel)
The next step is building the notification itself.
You can configure several options through the NotificationCompat.Builder to create the perfect notification for your use case.
You can even provide custom layouts based on RemoteViews for a truly tailored user experience.
val notificationManager = context.getSystemService(Context.NOTIFICATION_SERVICE) as NotificationManager

val notification = NotificationCompat.Builder(context, "live-activities")
    .setSmallIcon(R.drawable.ic_stat_notification)
    .setStyle(NotificationCompat.DecoratedCustomViewStyle())
    .setCustomContentView(createStandardLayout())
    .setCustomBigContentView(createExpandedLayout())
    .build()

notificationManager.notify(
    "order-status",
    notificationCounter.incrementAndGet(),
    notification
)
Sending remote updates
The Notificare REST API exposes an endpoint for sending content updates to a specific activity identifier in combination with any topics you provide. Below is an example of such a request:
curl --location --request POST 'https://push.notifica.re/live-activity/message' \
--header 'Authorization: Basic ...' \
--header 'Content-Type: application/json' \
--data-raw '{
    "activity": "order-status",
    "content": {
        "state": "shipped"
    }
}'
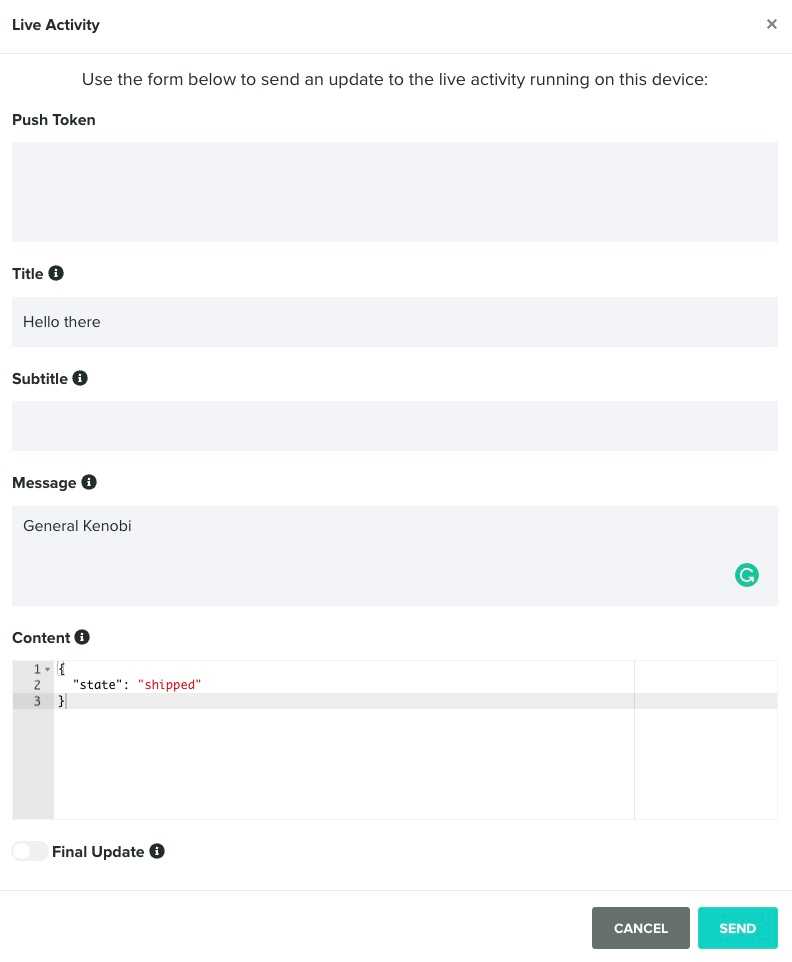
Alternatively, you can use our dashboard to send remote updates to a specific device.

Handling the remote updates
As mentioned in the toolset section, you must tap into the NotificarePushIntentReceiver to receive and process remote updates.
By overriding the onLiveActivityUpdate method, you receive all the information associated with the update — notification title, message, content state, etc.
class PushReceiver : NotificarePushIntentReceiver() {

    override fun onLiveActivityUpdate(context: Context, update: NotificareLiveActivityUpdate) {
        // Update the UI with the latest data.
    }

}
Furthermore, you must re-register any ongoing activities when the push token changes. Otherwise, those activities get lost, and you won't receive any other updates.
class PushReceiver : NotificarePushIntentReceiver() {

    override fun onTokenChanged(context: Context, token: String) {
        // Re-register any ongoing activities.
    }

}
Conclusion
Although we didn't cover all the details of building and binding the custom layouts for the notification, we have implemented this example in the Notificare Go app, whose source code is available on GitHub.
We look forward to what you can come up with using the Live Activities mechanism!
As always, we hope you liked this article, and if you have anything to add, we are available via our Support Channel.


